A ‘Supervalu’ Blanket Box Makeover
A ‘Supervalu’ Blanket Box Makeover
A ‘Supervalu’ blanket box gets a Makeover..in one day. See how easy it is to restyle this useful piece of furniture.
A customer dropped this to me the other day . Its a Supervalu blanket box.
How many of you have these or one of the rocking chairs at home and are threatening to throw them out.. Well throw them my way please….. I could have sold this one 10 times over as it waited to be collected !!
The customer had it in the kids play room for a few years and now wondered if I could do anything with it, as she needed extra storage for her bathroom.
It painted up so well, and transformed so quickly, that I just had to show you and of course explain how a good paint and the right tools makes the job sooo much easier .
SO here is what it looked like the day she dropped it in..
Marks and Scratches on the top

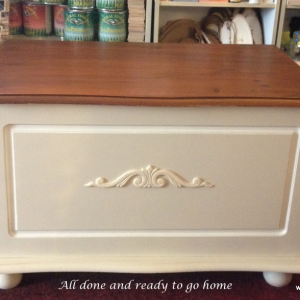
And this is what is looked like a few hours later……………….

You can do this yourself in 5 easy steps…
STEP ONE…. THE PREP>>>
Give it a clean with 50/50 methylated spirits and water ( see here to purchase ) to ensure there is no loose dirt or dust and Scuff Sand. Scuff sand means giving it millions of little scratches to break down the lacquered finish and give the paint something to adhere to.
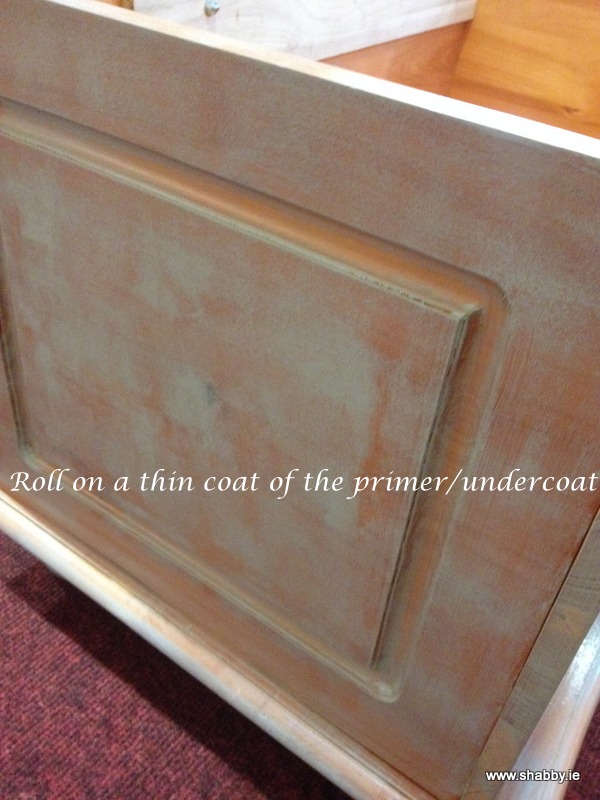
STEP TWO….THE PRIMER/UNDERCOAT>>>
This step is necessary on a piece like this, as it has a shiny finish on it already. This finish is meant to repel liquid and think about it…what is paint ?
The primer /undercoat will adhere to the scratches you made in the surface and then your paint will adhere to the primer.
I use a water based primer on a piece like this and HERE IS THE LINK to it
It adheres well, dulls down the finish of the lacquer and dries very very quickly… an important factor is you are like me and want the job DONE !! I only did a really thin coat on this … thats all it needed to dull the finish.
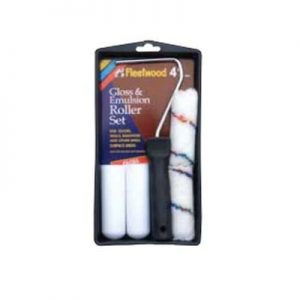
So I got out another one of my best friends.. ‘the mini roller’ .. and applied a quick thin coat all over… it took minutes.. click on the photo to see more
STEP THREE…. APPLYING THE PAINT
When the primer was dry, I put some of the old paint i used to stock. However now I would recommend this paint Shabby Grannys Dresser. Its made here in Ireland by Fleetwood Paints and is part of the Shabby Collection. Its so easy to apply. It gives a stunning flat , durable finish and you will LOVE it.
I used the little tray and rolled the paint on too. Everyone loves this colour here in Ireland. Its a pale cream that goes with everything and unlike the white , it has a warmth to it , something badly needed with our weather. Thin even coats are much more durable, dry much quicker and allow you to build up your colour. This time I turned the box upside down as its too easy to miss bits if you don’t do this >>especially round the legs.

 Foam Brushes are perfect for any detail work, spindles or inserts like on this box.
After the first coat of paint , I decided to accent the front and sides of the box by adding and off white. I would recommend this colour Shabby Vintage Lace . this made a world of difference to the appearance and was the only thing that took a bit of time, but you don’t have to be that careful as you will be rollingn on the linen again on the outer edges. The roller wont go near the inner white so it was soooo quick and easy. When I had the white done, I continued to roll on the LINEN everywhere else.
STEP FOUR… STAIN THE TOP ..
With the box painted , it was time to stain the top. The products I supply have been updated since I did this box and as new an better products come on the market. Therefore my recommendations to you the customer, will change too.
I had already scuff sanded it remember, but that wont be enough if you want to stain. You need to get the top back to raw wood. Easy enough to do with a small palm sander.
Here is a link to the new ECO TIMBER STAINS. They are all water based and you simply wipe them on.
The final finishing touch was to add a Moulding (BUY MOULDING HERE) from my range to the front to give character and charm. I was originally going to stencil it , but stenciling can date and I thought the piece was so classic looking now that I didn’t want to take from it.
STEP FIVE.. SEALING THE STAIN

Step FIVE
This is to give a beatiful finish to the top. I use a clear water based varnish on my projects.
Here is a link to the new top coat we now stock
Thanks for reading and if you have any questions please dont hesitate to ask. You can contact me on my Facebook Page or Instagram Account and follow along with our daily posts and stories
https://www.facebook.com/shabby.ie
https://www.instagram.com/shabby.ie
ALL PRODUCTS USED ARE AVAILABLE ON THIS WEBSITE AND IN STORE with the links in the post above.
DELIVERY NATIONWIDE FOLKS ONLY €8.95