COT CRAFT TABLE… a tutorial
COT CRAFT TABLE… a tutorial
by Aileen Hogan
in Association With Fleetwood Paints
Welcome back to the second blog and video ( see below) on a Baby’s Cot. In the last blog I talked about how to paint a baby’s cot and what is the safest paint on the market to use.

Now we are going to assume that baby has grown out of the cot . Rather than pass on the cot to another, why not turn it into a craft table. I did this some years ago, when my two kids had moved into single beds. I then moved the craft table into the playroom and they got YEARS out of it.
Two little Ikea chairs in front, some storage boxes underneath and some funky frames on the wall behind, to show off their art work and you have a craft station that will be the envy of all.
So lets talk through the stages of turning the cot into a craft table.
If you have not painted it before please see the first blog post on HOW to paint it, what primer to use and the safest paint to use.
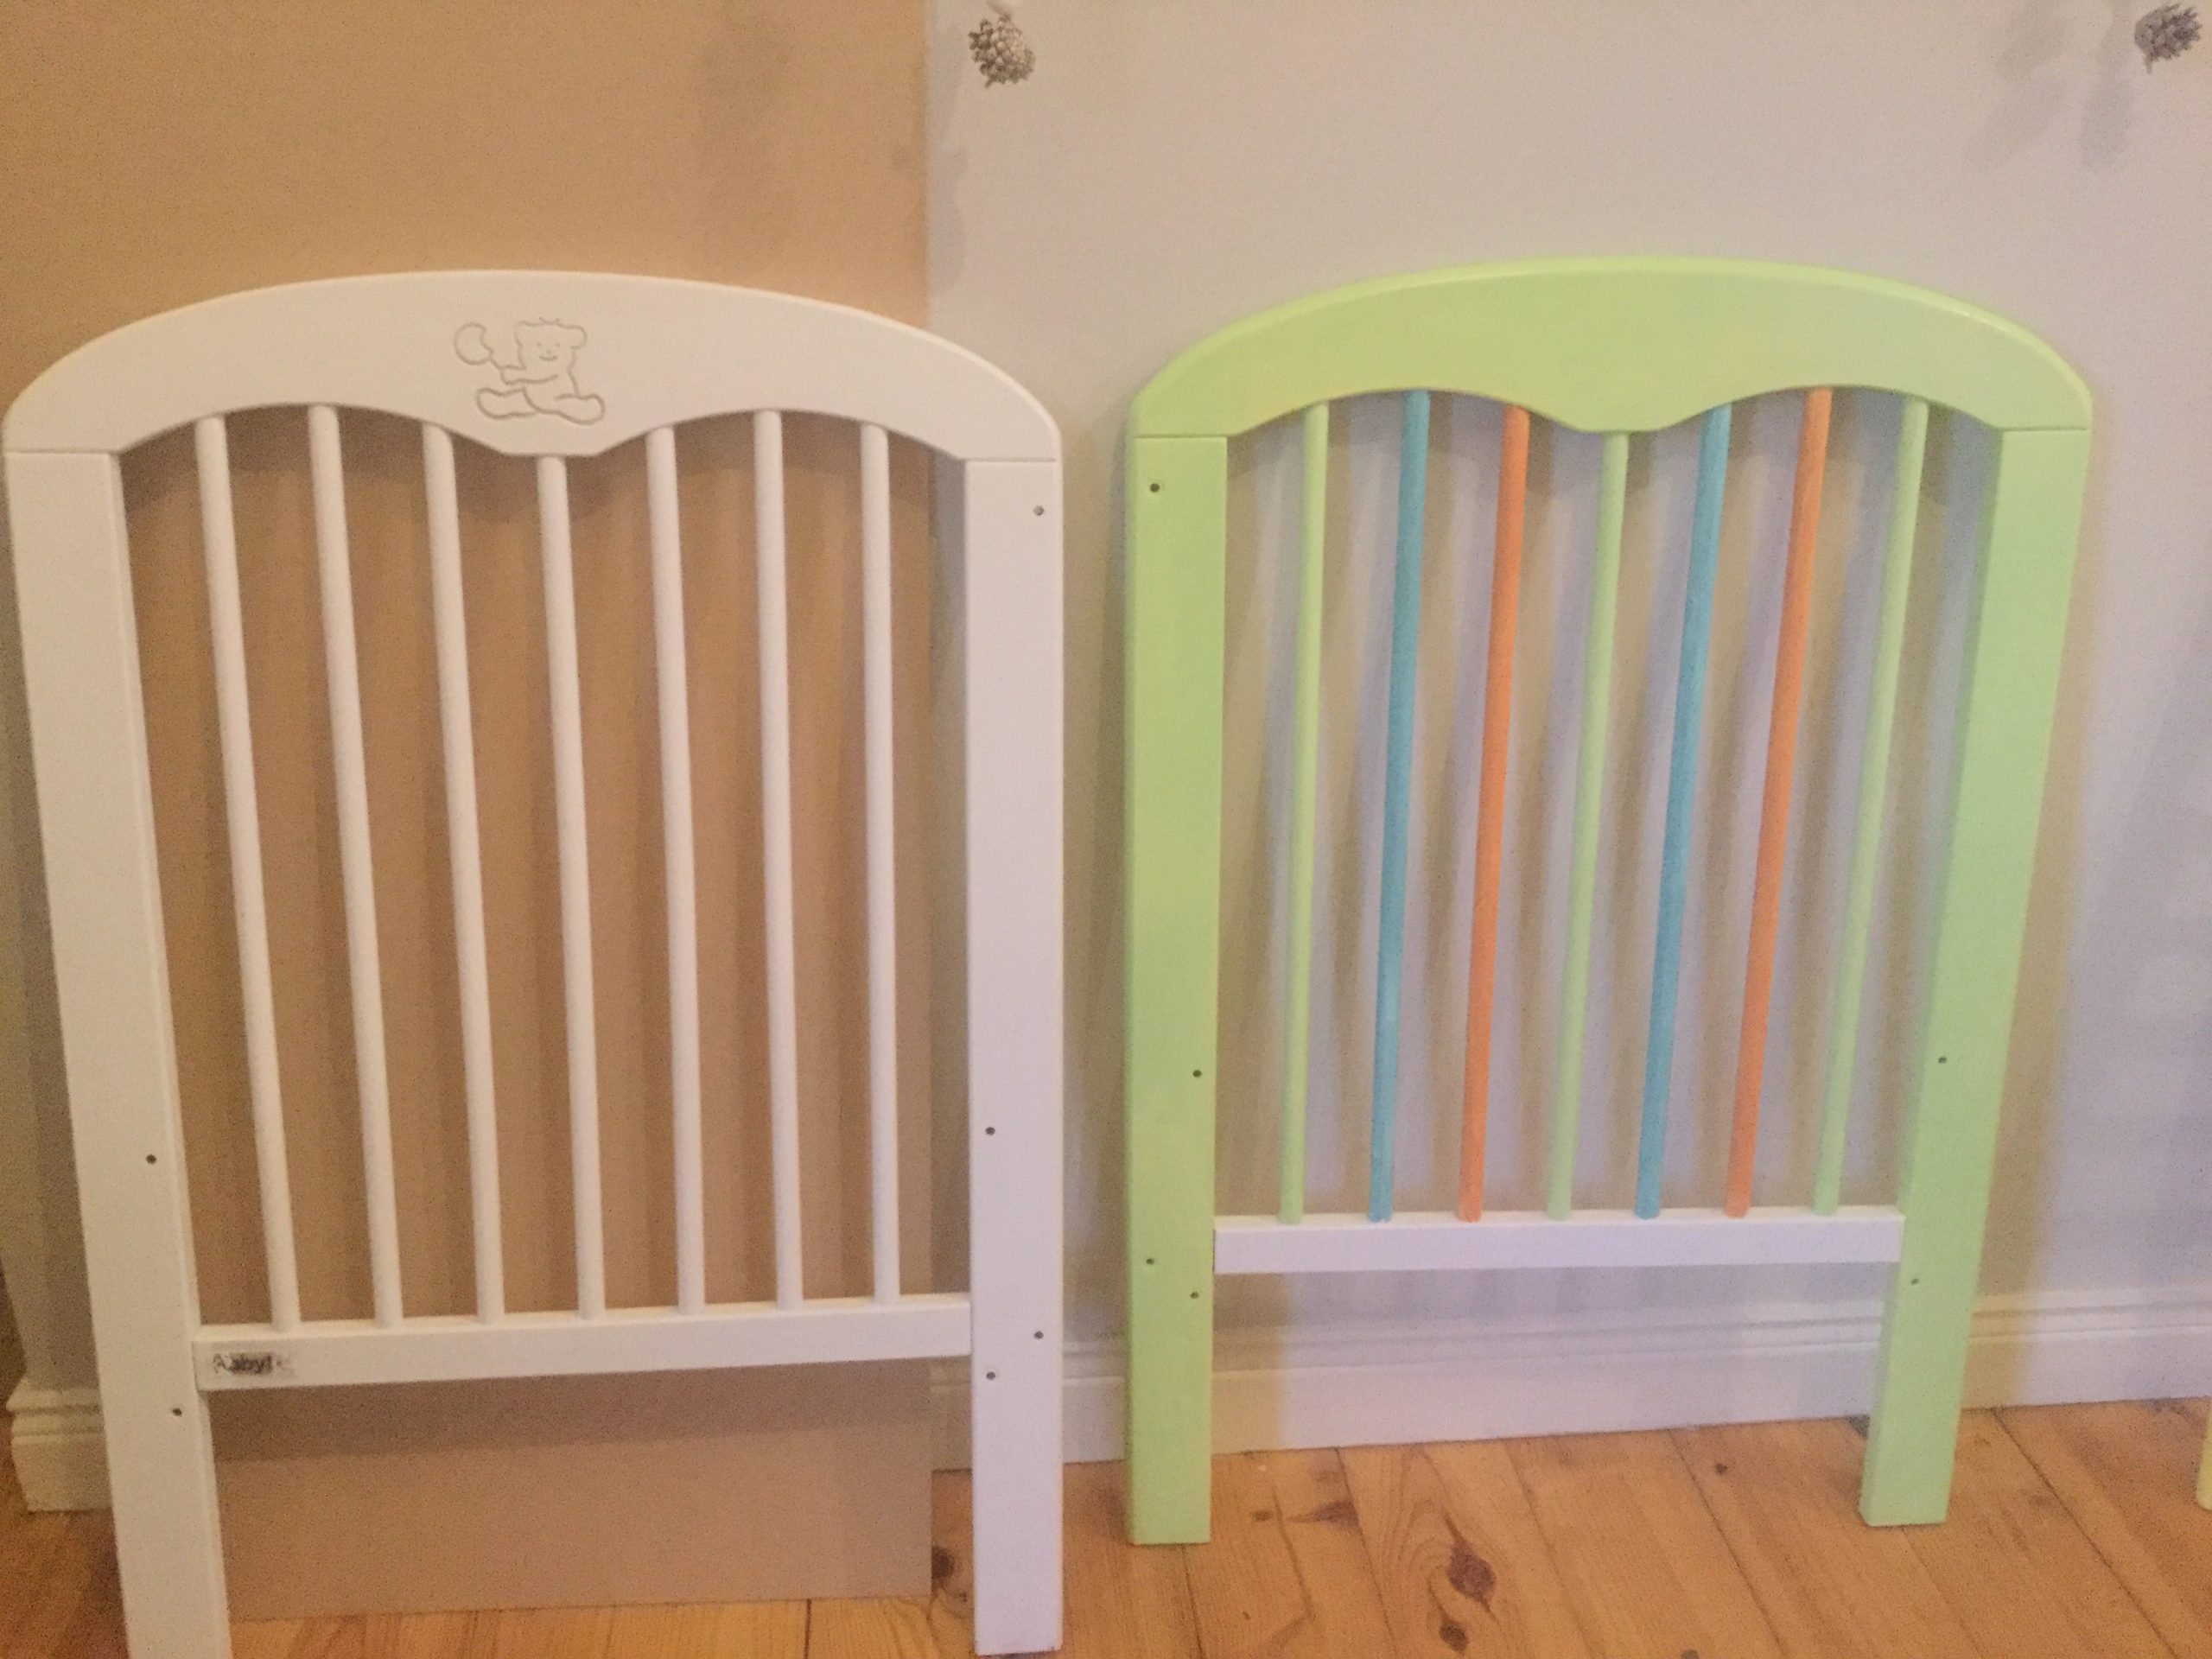
If you have painted it and now want to give it more colour like I did, take it apart again and begin adding bright pops of colour.
I used the same paint range as last time The Advanced Range of Paint from Fleetwood Paints . These paints are available nationwide. I got the colours mixed into the advanced satinwood again. It has a slight sheen making it easy to clean and is hard wearing… needed for kids lol .
And again I chose some colours from the new ‘Kids Collection’. You can pick up this brochure in any Fleetwood Stockist or order your free copy on the website www.fleetwood.ie

I lightly rubbed it down with a sanding pad before painting it again, but you don’t have to worry about creating a build up of paint. The paint is water based and it never looks like the oil based paints of years ago, that seem to sit high on top of each other.
When I had it painted I put the base back on. There are two heights on a cot base and this time I chose the HIGHEST one, which gives you space to put little chairs up against it and allows the children to sit at the table comfortably . I then went to my local DIY store and bought a light piece of MDF 4ft x 2ft and tacked it to the wooden cross bars of the base with panel pins. I then painted the MDF with two coats of Black Board Paint


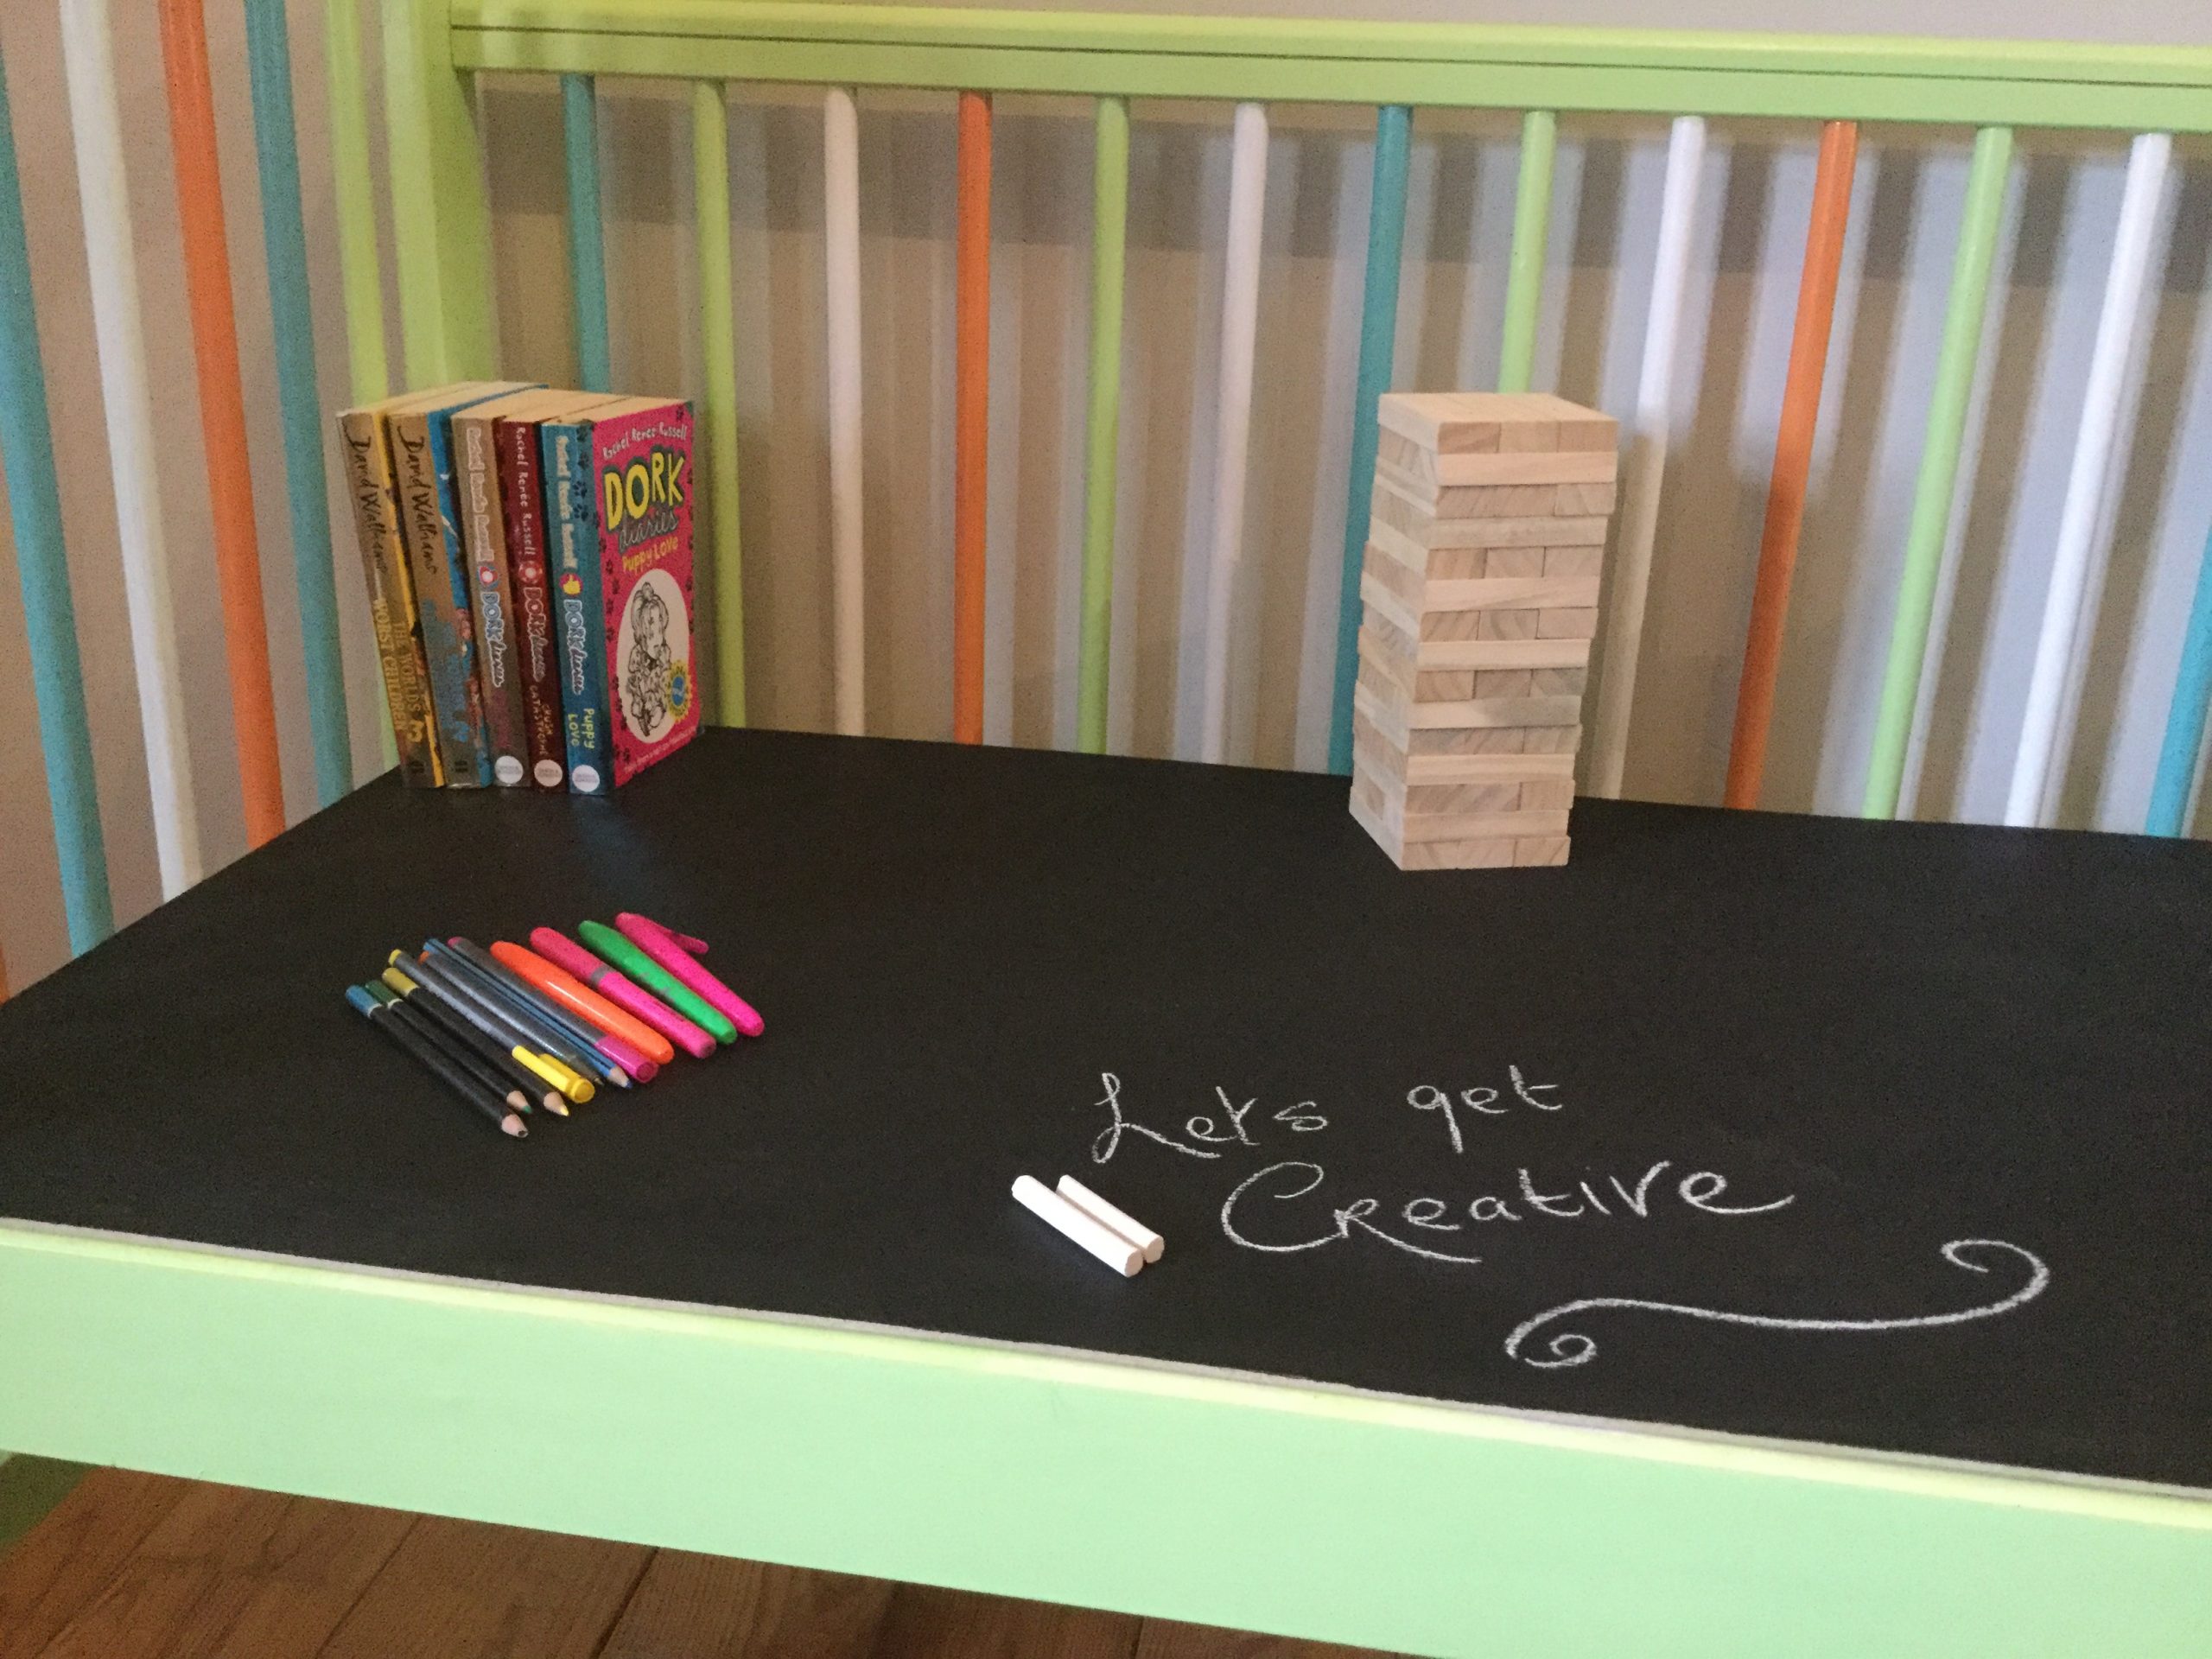
I reattached one side of the cot which now acts as the back, leaving the other side off.

And that was pretty much it. Done and dusted. Pop it in the play room and watch the kids get years of fun out of it. Here’s the full video. Hope you like it.
If you give it a go, please tag Fleetwood Paints and Shabby.ie in your photos on social media. We would really love to see them.
Thanks for reading guys.
See you next time.