How To Create A Paintwash Look
How To Create A Paintwash Look
![]()
How To Create A Paintwash Look on an old pine blanket box. The well loved blanket box is a firm favourite in our homes, having being around for hundreds of years it has picked up plenty of uses throughout the ages. From stashing the kids toys and bedding to serving as the coffee table or window seat, the blanket box is an extremely well versatile item of furniture, and whats more, it can be endlessly repurposed, with a coat of paint. I will link all products that are available on our website and alternatives to those I used from woodies, if you want to purchase it all in one place.
Here I have created a step by step guide on a supervalue blanket box that many of you have at home. I will explain how you can create a fresh clean look with a paintwash top using Fleetwood Paint from Shabby.ie and Woodies.ie.
Items you will need:
- Dust Sheet( if painting inside/outside it’s worthwhile to protect the surface you’re working on)
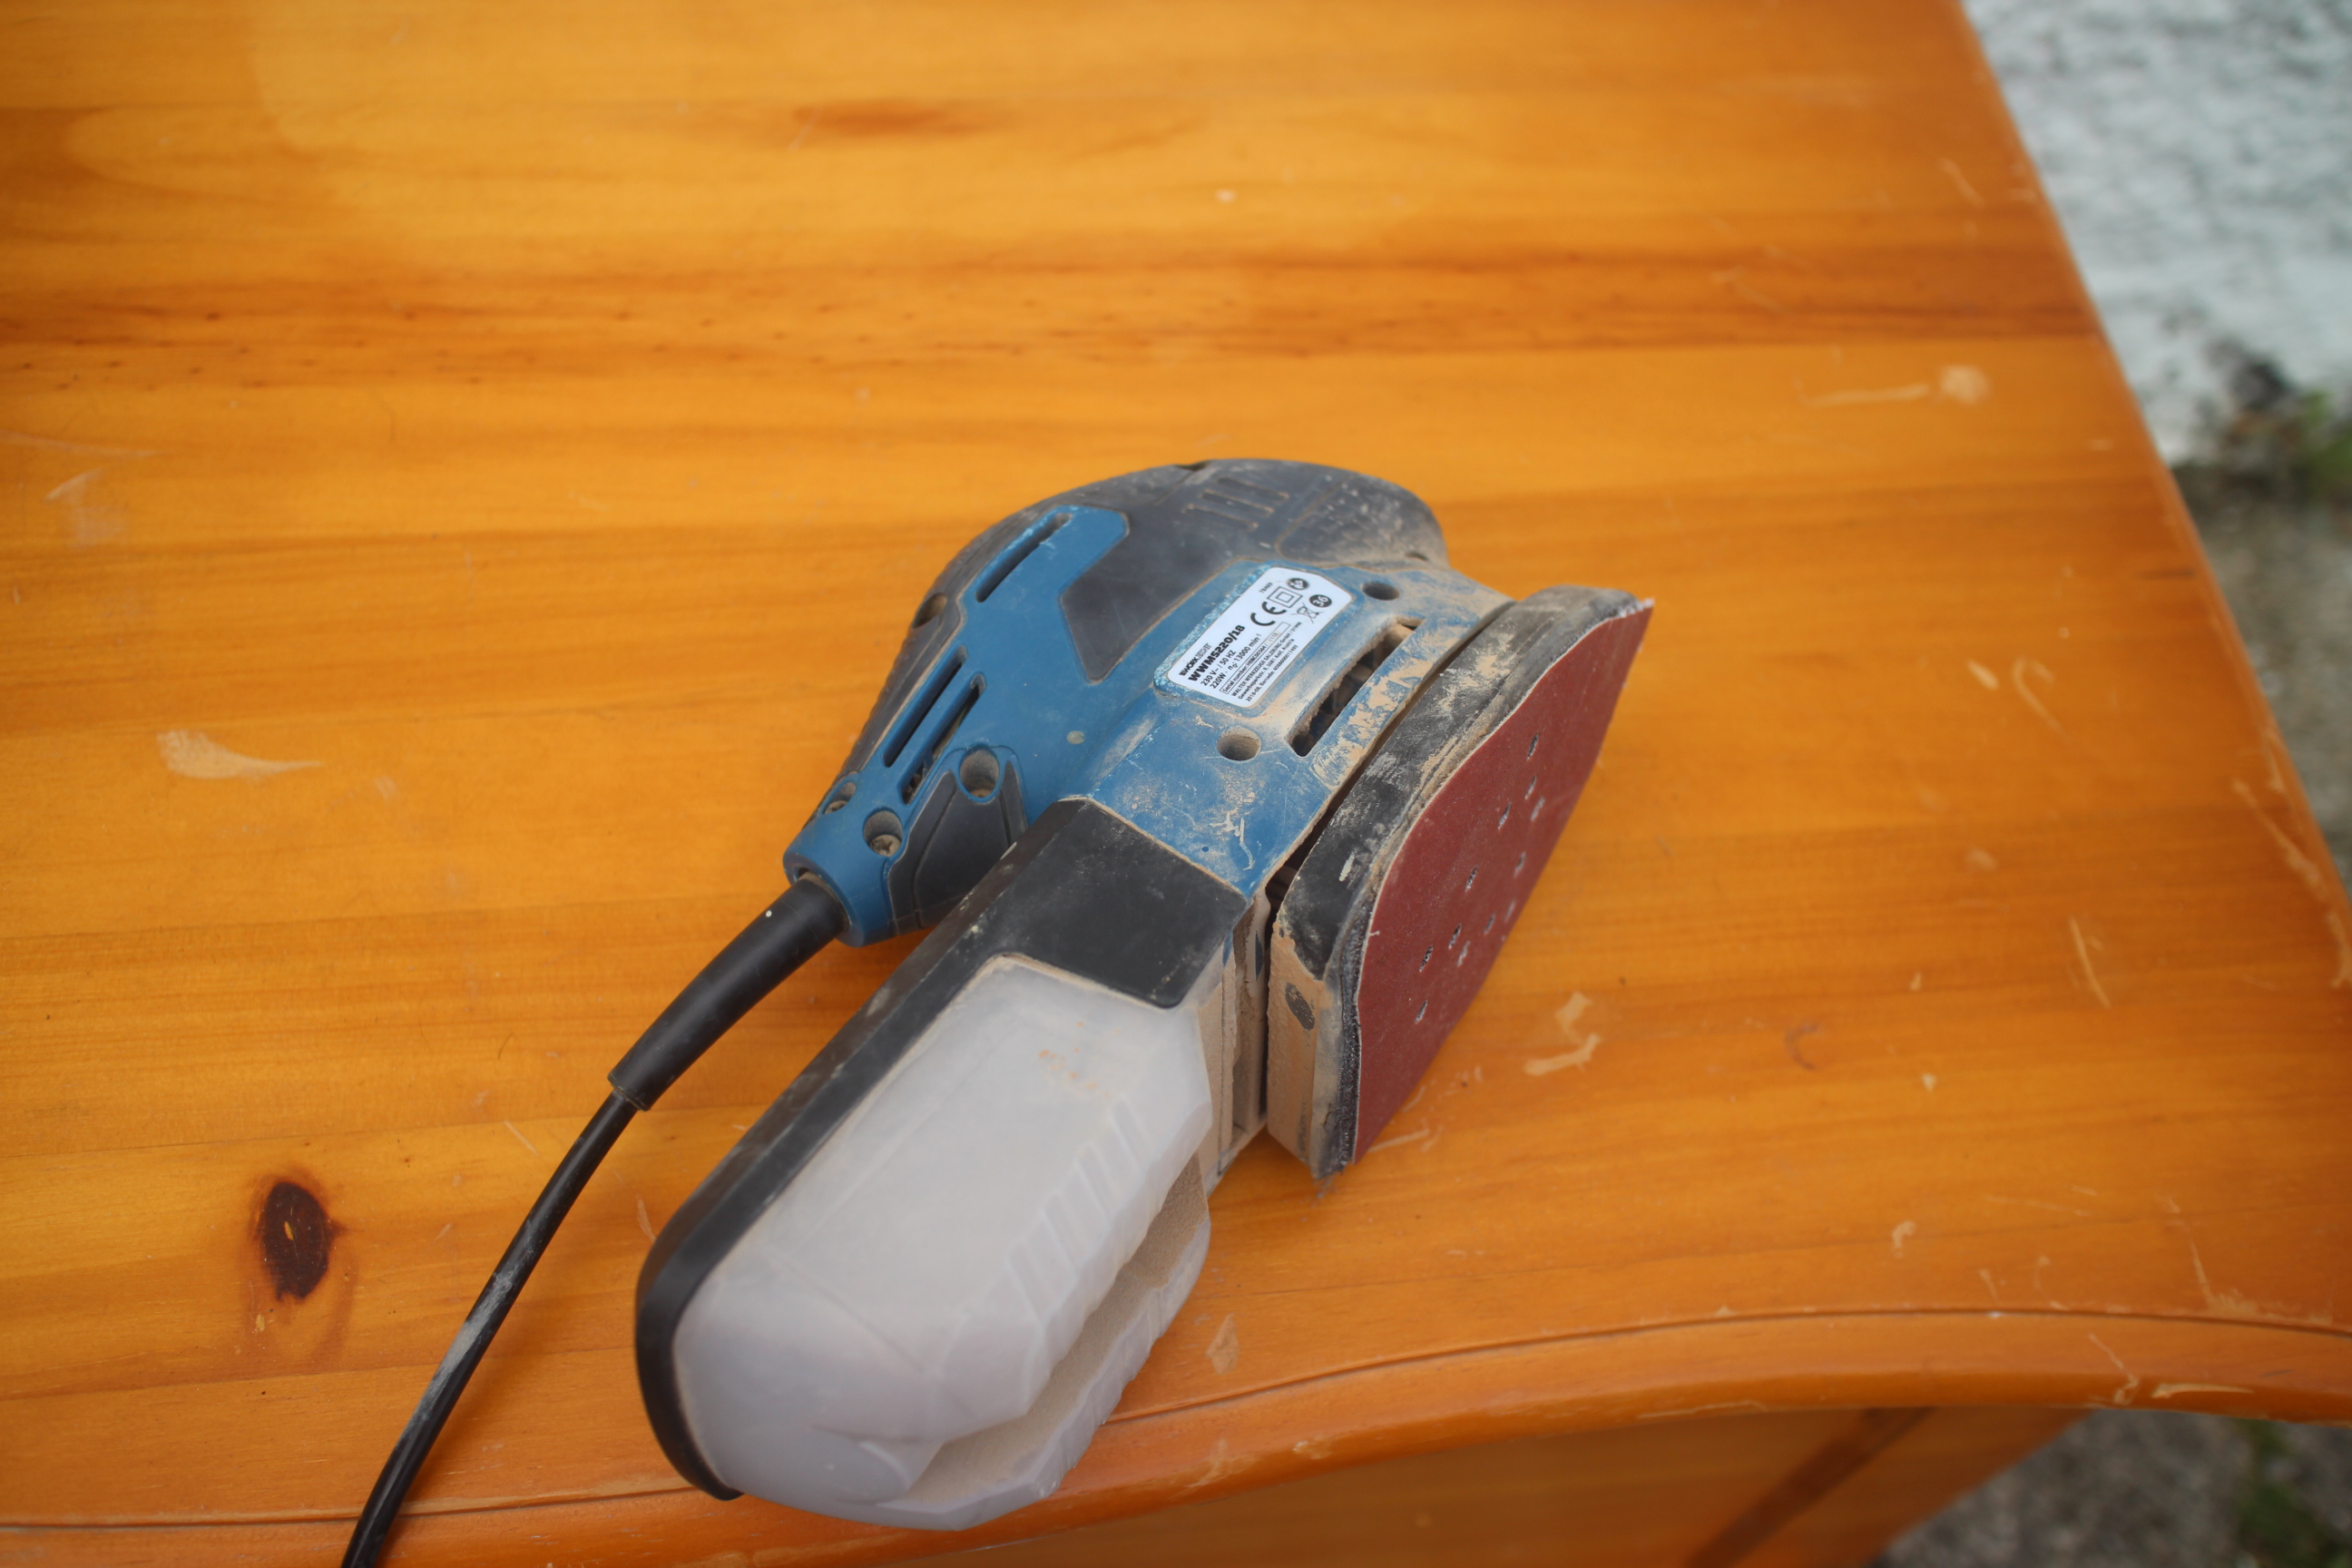
- Sanding paper (mixed grade 80 and 120)
- Palm sander
- Sugar soap for cleaning
- Methylated spirit for cleaning
- Fleetwood Advanced Undercoat
- Fleetwood Advanced Satinwood Linen mist (other colours are available)
- Mini roller tray
- Rollers (I used a Fleetwood flawless microfibres sleeve)
- Sash brush (for grooves)
- Pro D 2.5 inch brush (for dry brushing the top)
Optional (If creating a paint washed look you will need)
- A 90ml pot of Shabby Pure white , Shabby Light Grey, Shabby Dark Grey and Shabby Chocolate.
- Water based clear varnish
- Decoupage, stencil, moulding
So, let’s take a look at the before and after of the blanket box. What a transformation! It is absolutely gorgeous! Here’s how you can get the look yourself .

Step 1: Sanding
Firstly, the box needs to be sanded . I sanded the top of the box back to its natural wood which is raw pine and then scuff sanded the remainder of the box, so it can be painted. Top Tip on on sanding, is that “a scuff sand is a light sanding that creates millions of little scratches in the surface of the piece that allows your new paint or primer to adhere well… and let me tell you folks… ADHESION IS KING!” When removing varnish and getting back to raw wood, you need a course sandpaper and in this case I used 80 grade and then moved on to a medium grade of 120. I used a palm sander to get back to raw wood. Sandpaper is fine for the scuff sand.
Step 2: Cleaning
To clean the piece use a mix of methylated spirits and water 50/50 mix, in an old shower spray bottle and spray it straight onto the box. Wipe with a sponge and kitchen towel to dry and remove all the dirt. Even if you think it’s not dirty, it most definitely is!

Step 3: Priming
It’s prime time with the Fleetwood Advanced undercoat in Brilliant White.
Pour the Undercoat into a roller tray and used the Flawless microfibre sleeve, applying a thin even coat onto the box and let it dry.
The water based nature of the Fleetwood Advanced range means that it dries really quickly, touch dry in 30 minutes with a recoat time of 1-2 hours. One or two coats of the undercoat.

Step 4:Painting
You can paint within 1-2 hours after your undercoat. I chose a creamy white called Linen white in Fleetwood Advanced Satinwood, in order to get a flat finish and did two coats of this. Remember to keep the coats thin and evenly spread. Your roller will keep it flatter that a brush. Another colour very similar to this is available here
You have two options here, you can two-tone the inserts by having the grooves a different shade than the main colour or keep the same colour all over.
Why two-tone? This will accentuate the panels on the front of the box if you are keeping the item very plain and want to add some visual interest.
In this instance, I painted the entire box in linen mist .
![]()

Step 5: Relax
Day 1 complete! On the agenda for day 2 is top, legs and the inside
Step 6: Optional
I then got creative and decided I would like to have a limewash effect on the top and this was achieved with a mixture of paint and water.
![]()
Here’s how I achieved this look .
“I sanded the top of the box to create a beautiful bare wood finish. When the top was restored to bare, raw wood I watered down some white paint and applied it with a sponge, rubbing it into the grain. I wiped it with kitchen roll (or a dry cloth) to ensure the product was well rubbed in and the grain was still obvious. That was a bit pale for me so I did exactly the same with a light grey. That was a bit better, but I wanted to add some depth so I got a bigger flat brush and dipped it into the dark grey, then dabbed it onto kitchen roll to remove most of the paint (until the brush was pretty much dry.) I brushed along the grain and it added a tiny bit of colour and I then immediately did the same with the chocolate paint. If you add too much at this stage dont worry. Have a wet sponge to hand that will help spread the paint and take it off. You can always give a light wash of the light grey again to blend it all. I finished off with 3 coats of a water based varnish.ta-da!” Here is a link to those colours . Choose the 90ml.
You’ll notice a delicate addition to the exterior of the box. I added one of our Efex Furniture Mouldings from our range HERE, painted in the same paint to give a romantic, antique feel to this piece.

Hope you now feel happy to give this a go. The full upcycle is highlighted on Instagram Stories under Woodies Giveaway.
Aileen