How To Paint A Fireplace Surround
How To Paint A Fireplace Surround
by Aileen Of Shabby.ie
People seemed to be a lot more hesitant to attempt this project and I think its because a fireplace surround is a permanent fixture in your room and quite unlike furniture that you can always throw out if it goes horribly wrong. Am I right ?? You will see from the video below that not only did this paint improve the fireplace itself, but when I took the final photo, I couldn’t believe the beautiful colour that was on the walls. A colour I hadn’t even noticed a few hours before. The lesson I learned from this project was … changing just one thing in your room, can totally enhance the whole room! Have a look at the BEFORE photo as this was what it looked like at 10.30am when i entered the house.  So what did I do.. ? Well, first off I covered the area with a big dust sheet and then taped off the wall and the inner part of the fireplace. Yes this takes a bit of time, but it means your painting is SO much quicker. I used to be a bit lazy with my prep but I ended up spending so much time cutting in and cleaning off paint in unwanted areas that it drove me mad ! … now its washy tape all the way !! lol lol. Trust me when i tell you, the finish you get is SO much better if you take the time to do your prep properly. The blue low tack washi tape is the one for the wall area, as it doesn’t pull off the wall paint.
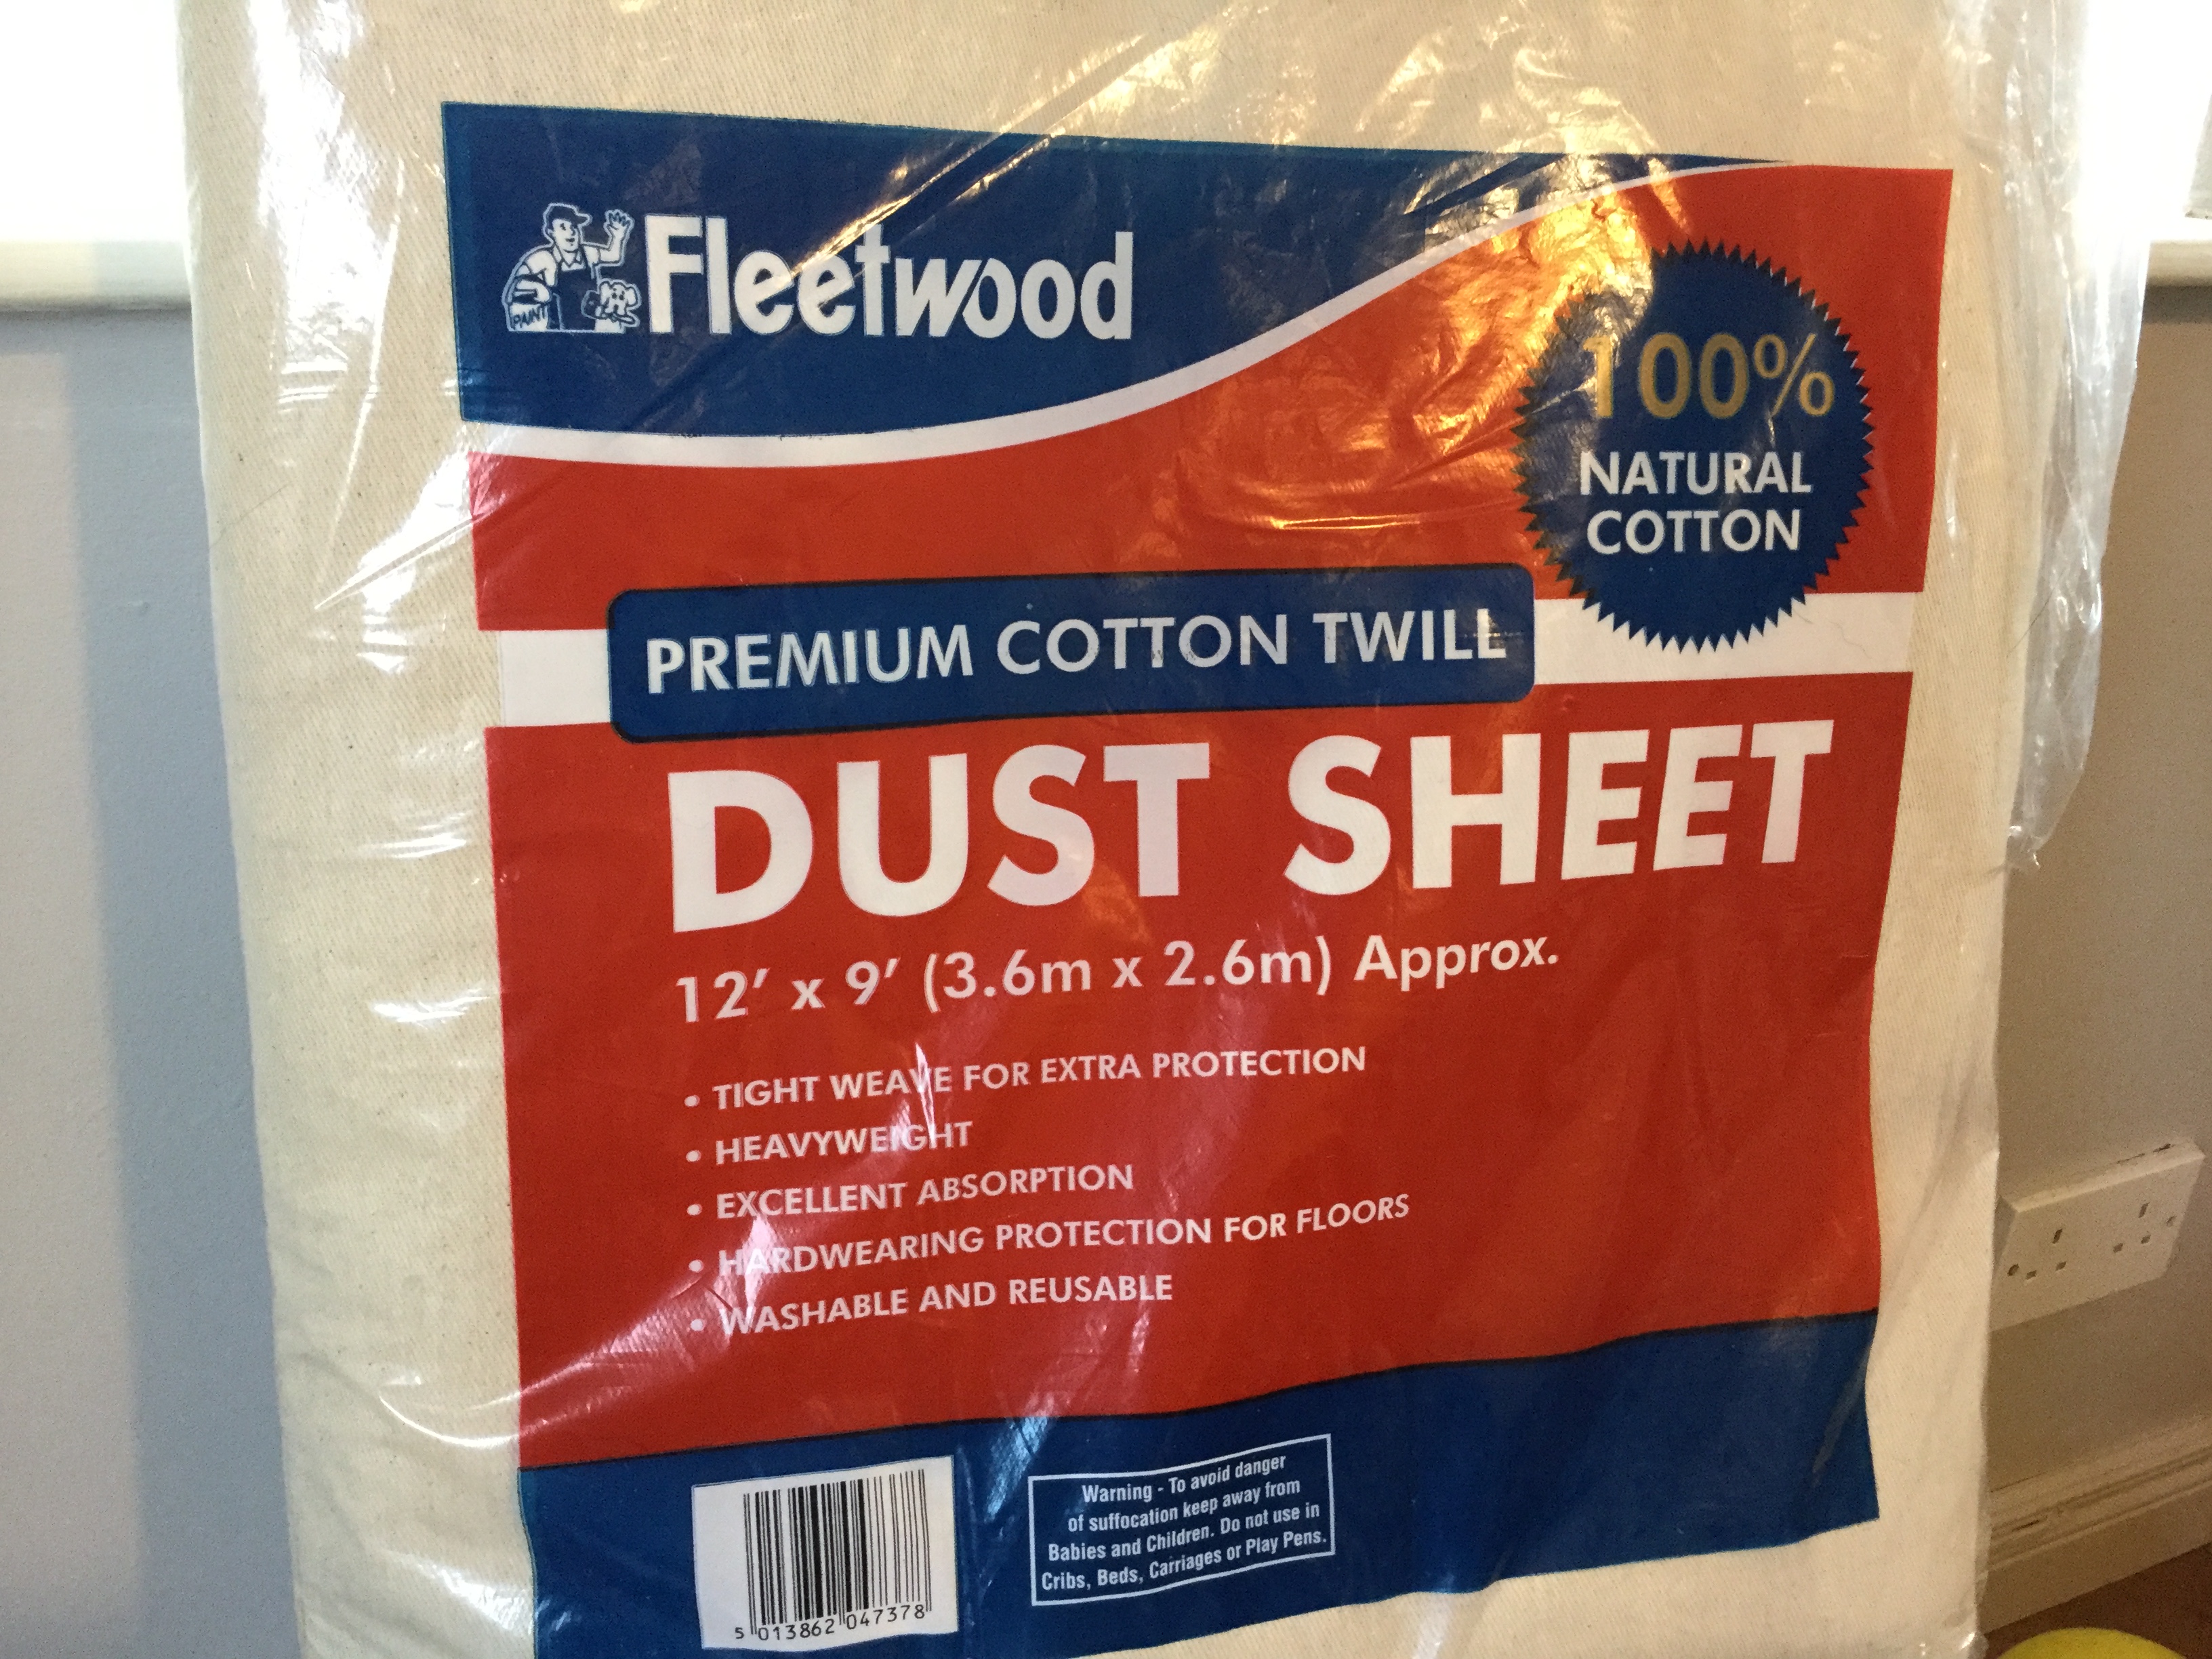


 Step 1. Well you will see from the video the step by step process but the first thing I always do with every single project is CLEAN IT. Using a 50/50 mix of methylated spirits (de-natured alcohol for those in the USA) and water in an old squeezy bottle. Spray directly onto the wood and use a sponge to clean it. Wipe/dry off with kitchen roll or a dry cloth.
 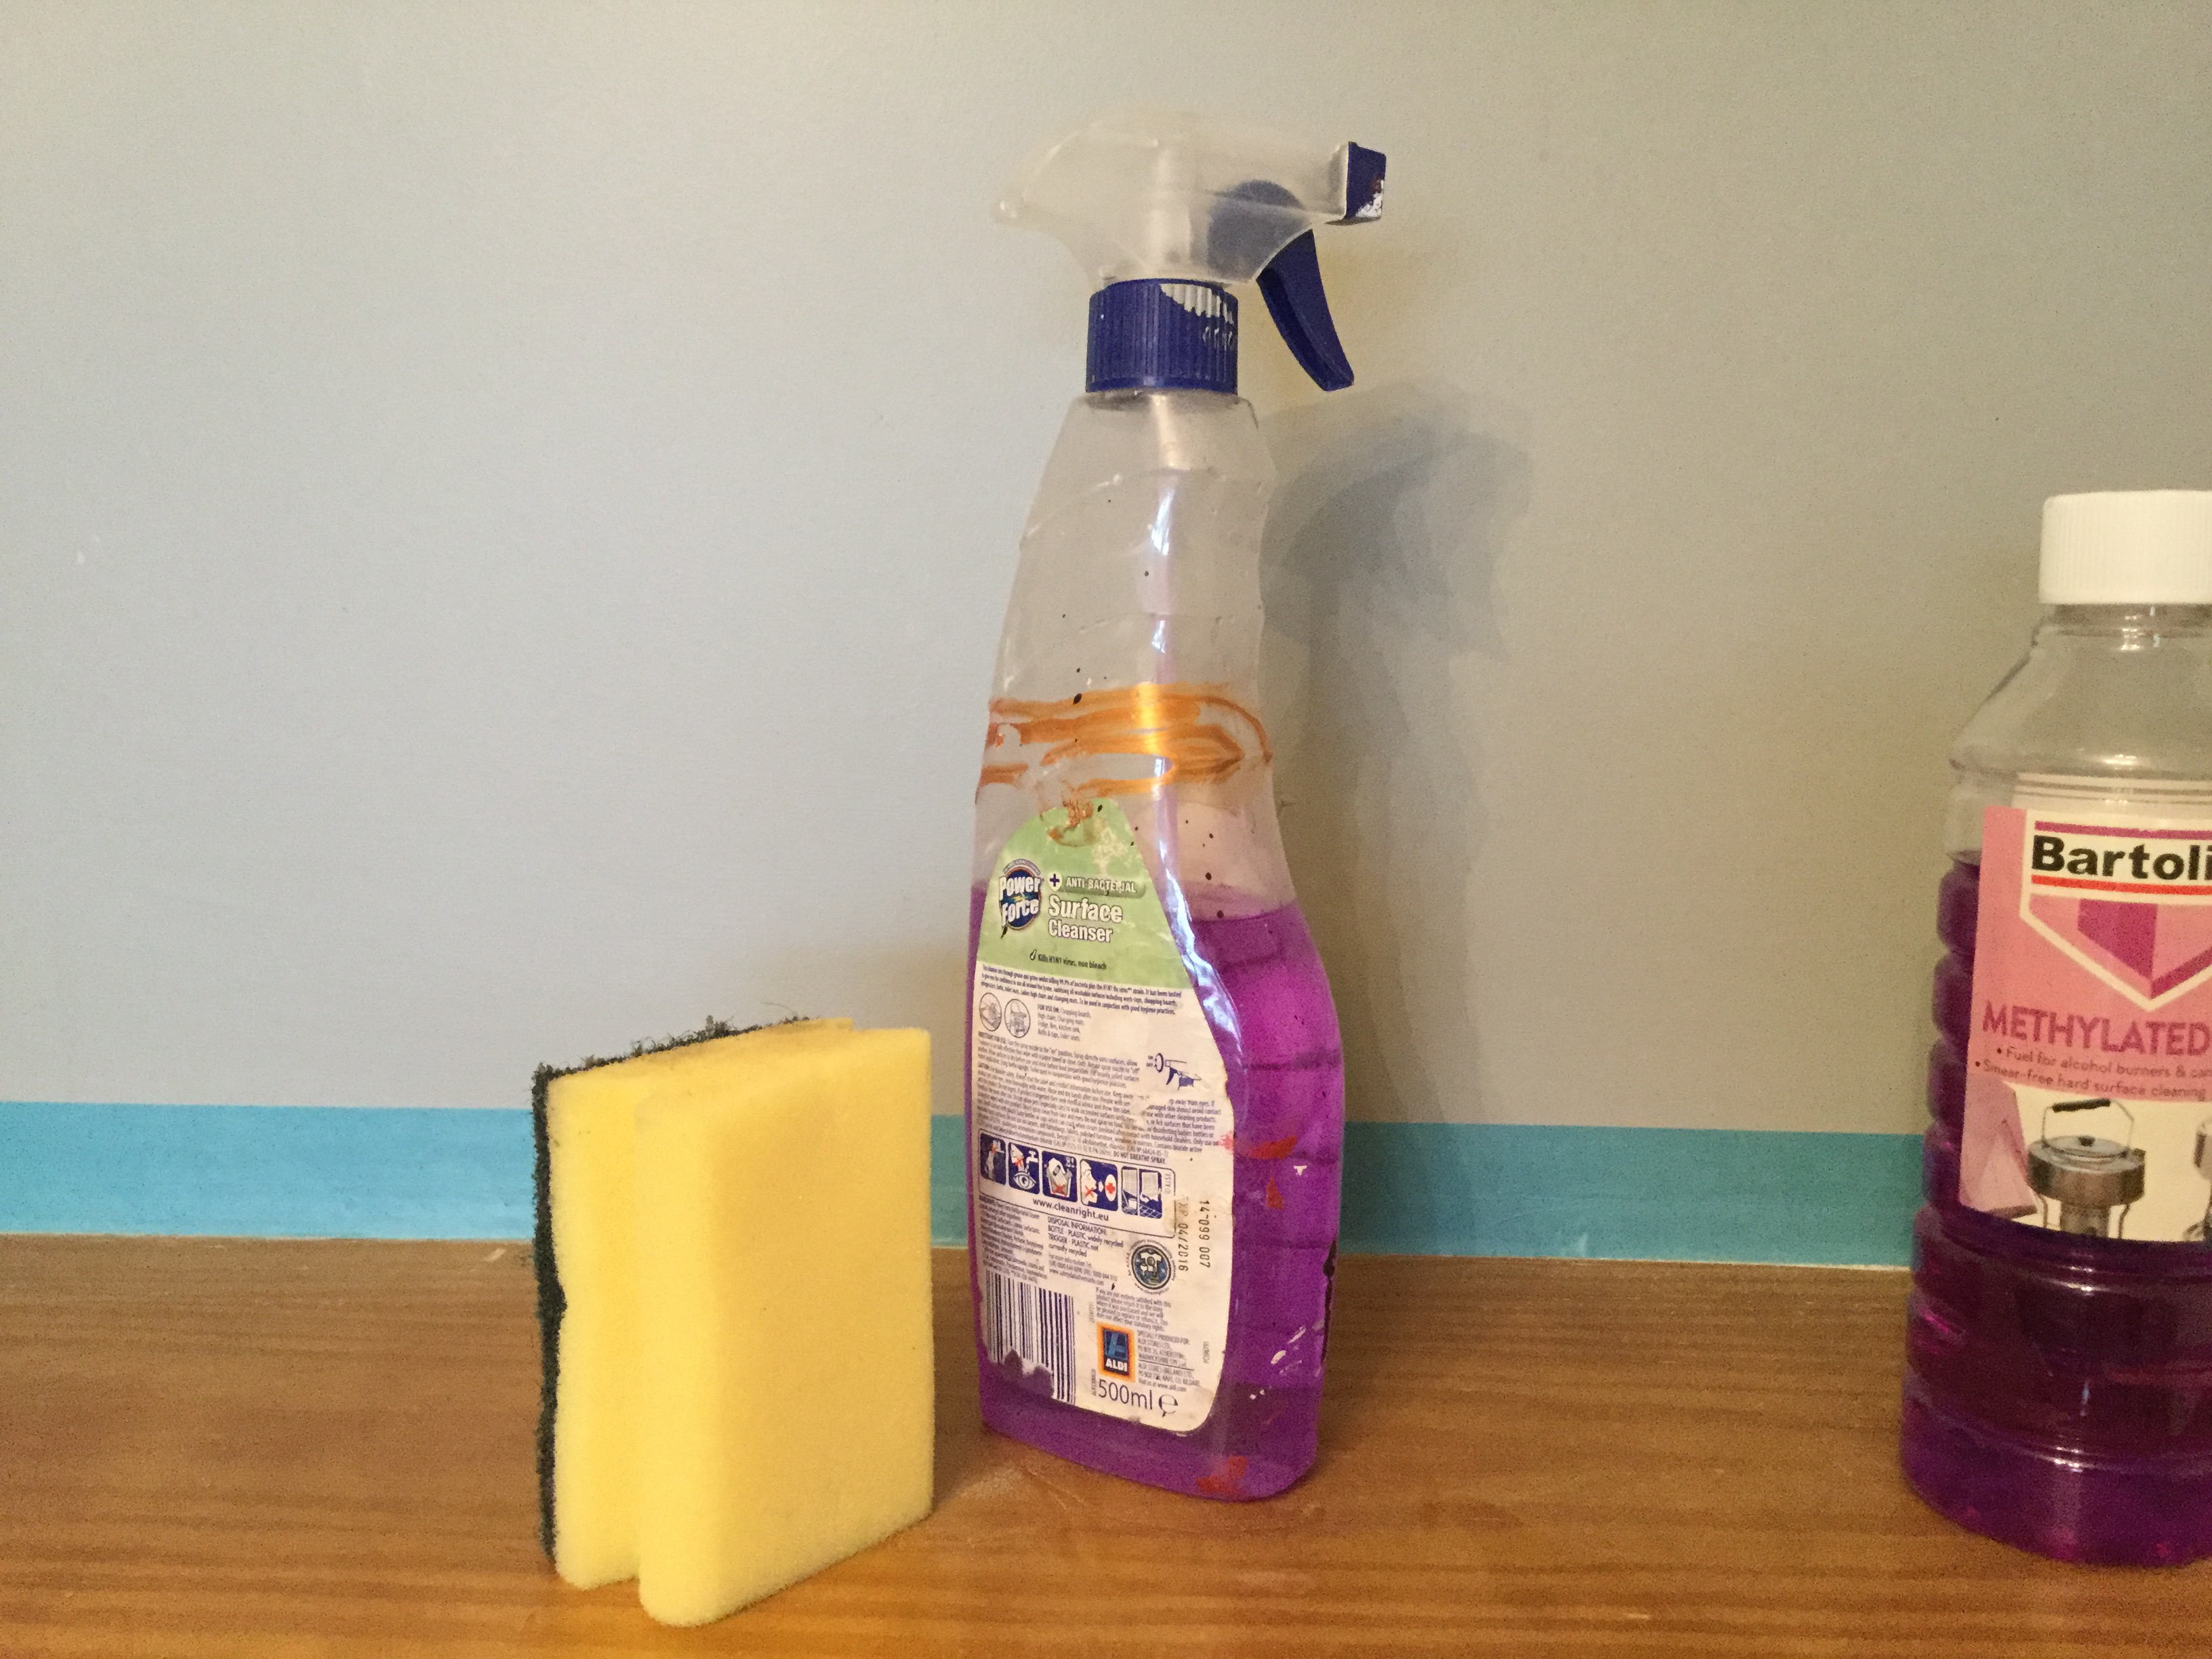 Step 2 Scuff sand. I show you how to make a sanding block which makes scratching the surface much easier. You are not trying to get the finish off here, just create millions of little scratches for your new paint to stick to.
Step 3 Prime. This is the single most important bit. This particular primer has super adhesion and will stick to this shiny surface which means you will have a durable finish to your paint. If you are going to spend the day working on your fireplace, you want it to still lovely as lovely in 12 months time. What primer did I use? Oil based Bloxx-It ( Available Here) is a premium interior/exterior primer, sealer and stain killer. As it is an oil based primer, the drying time is a bit longer (40 mins drying time, 120min re-coat time) but it has amazing adhesion qualities. It’s also fabulous for sealing in knots, not that i had that problem here, but this surface was rather shiny, so I knew this primer would adhere well and produce a blemish free finish. 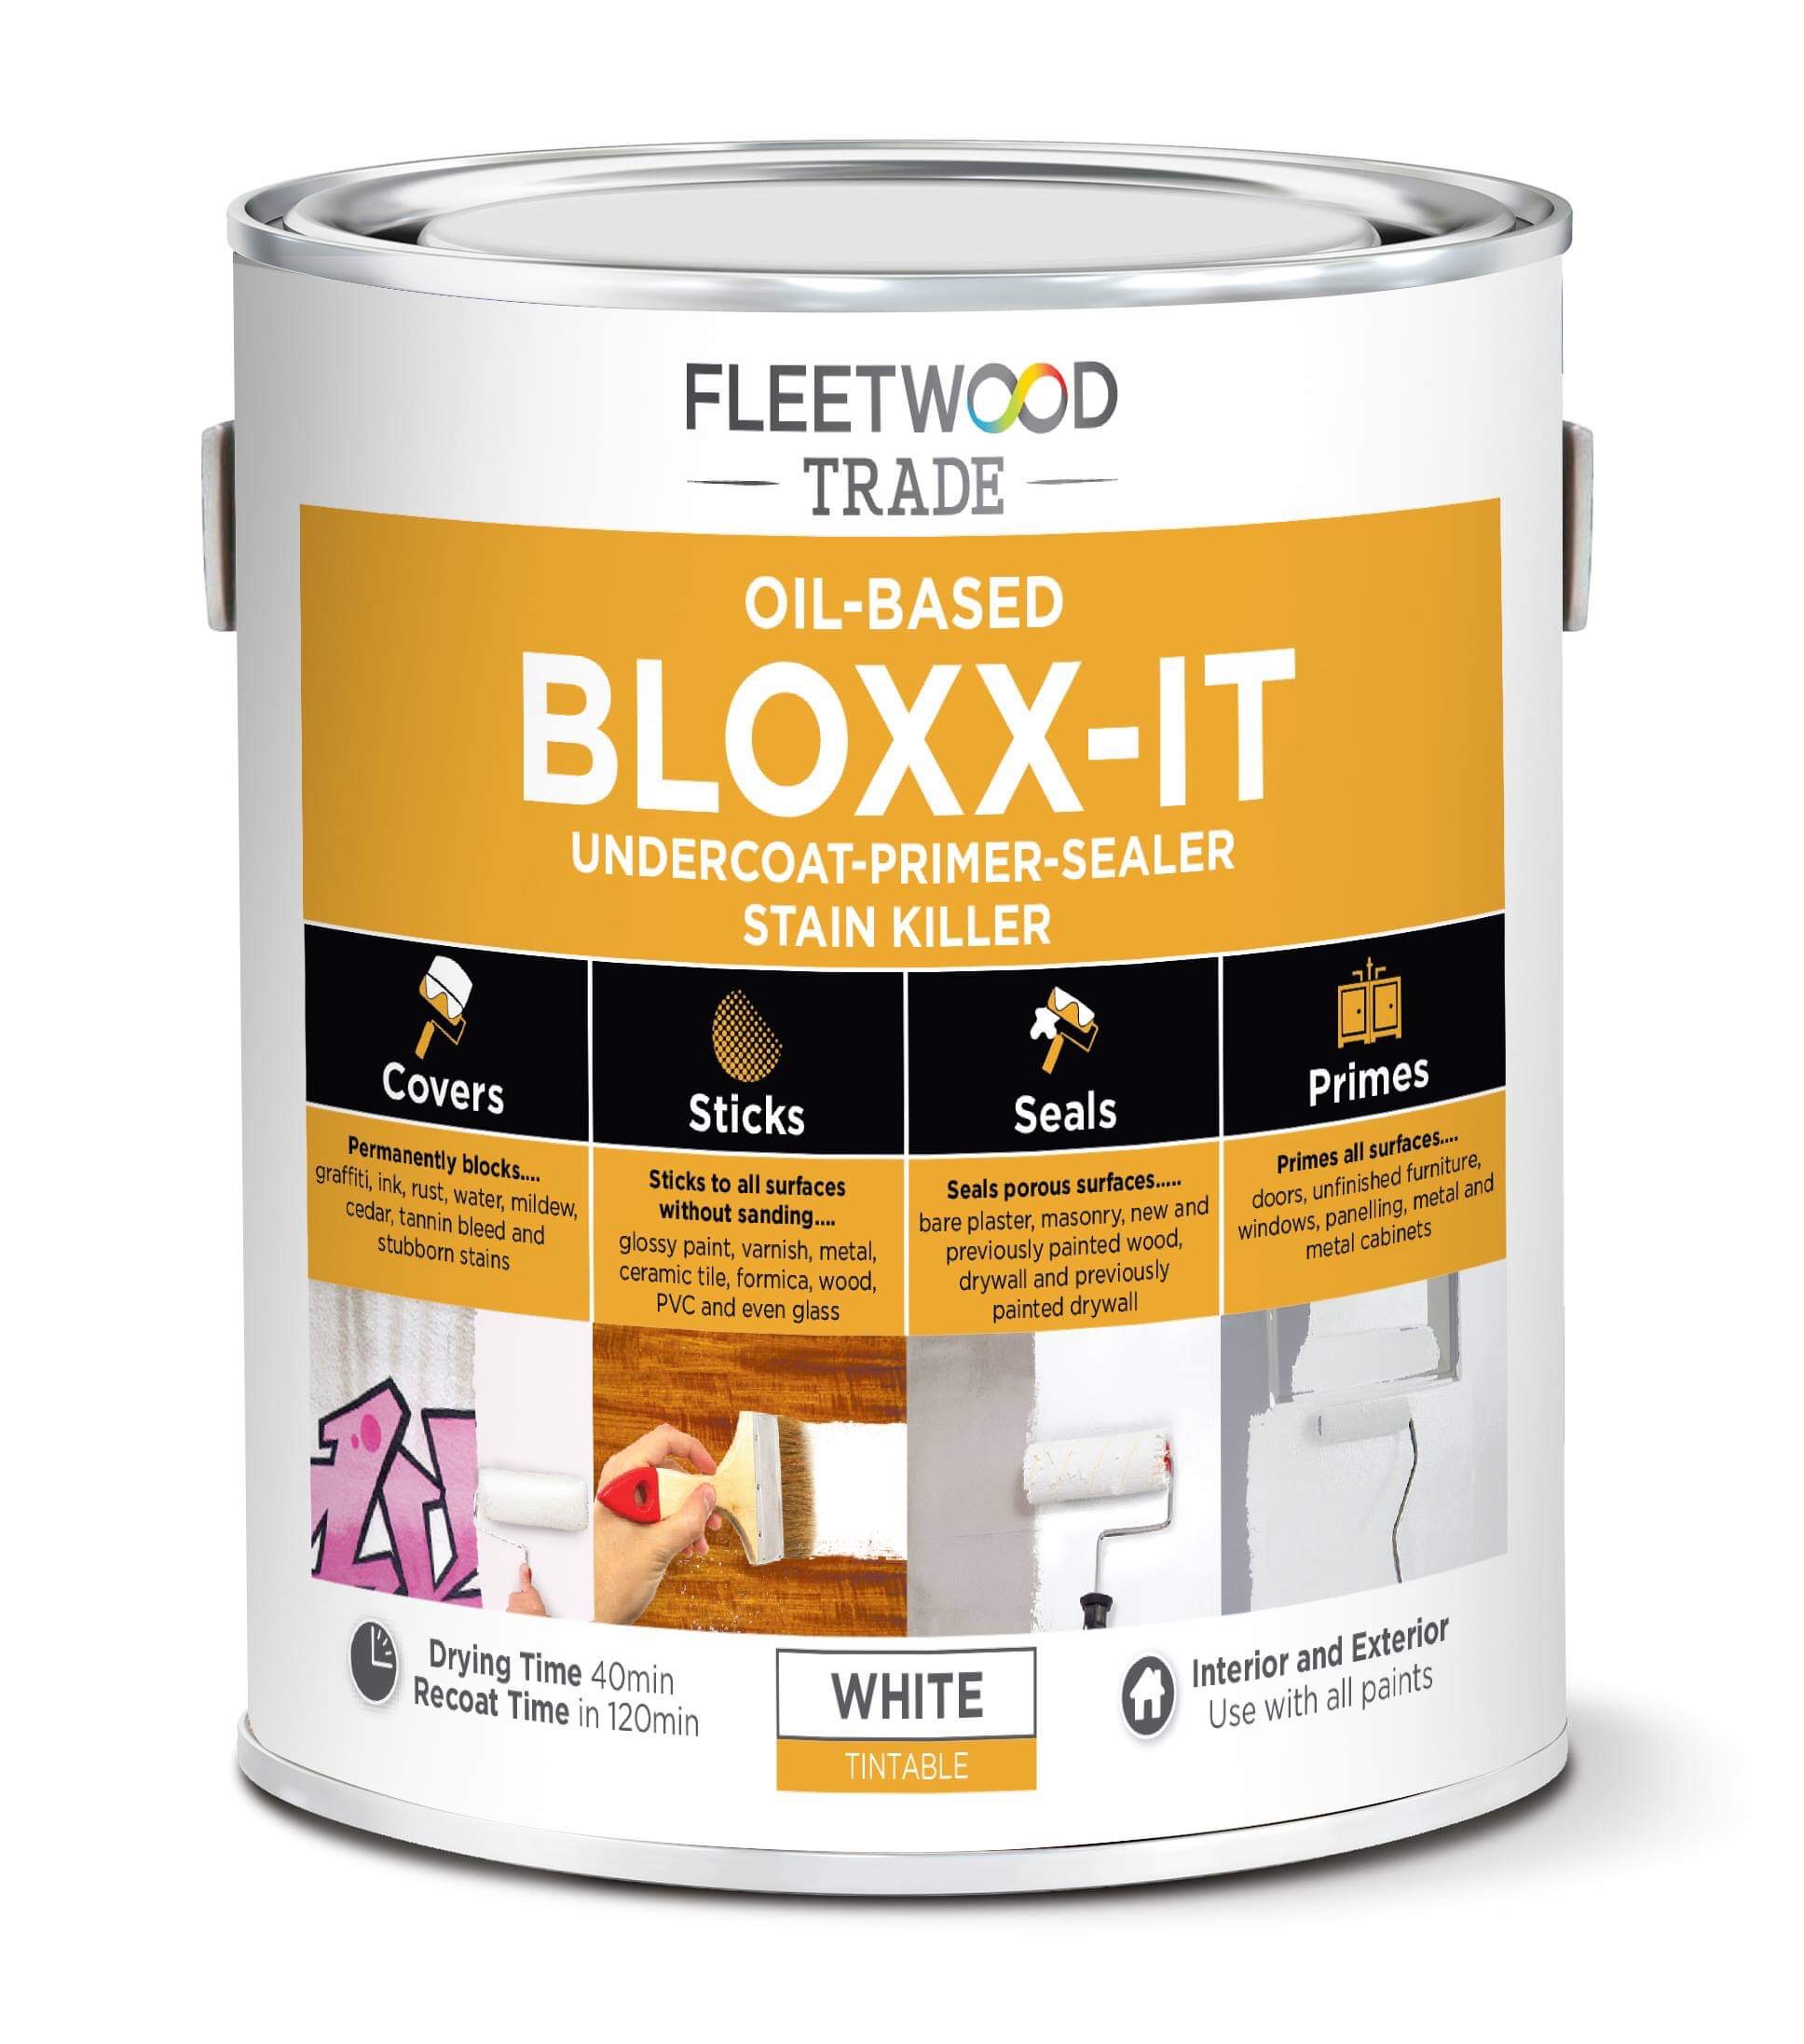 To Apply The Primer I used a flock roller to apply the primer as it keeps it very flat. It can feel a bit sticky when you first start to use it if you are used to only using water based primers, but that’s normal and the roller will help you spread it. I did one thin even coat and let it dry (See photo below) and then I applied a second coat which gave full coverage. I stopped for lunch.
  When the second coat was dry I gave all the flat areas a rub with my superfine sanding pad. This ensures I have a very flat finish before I start painting. You can also do this in between coats of paint. This makes the finish feel like glass and as I always tell my students, your furniture should feel as good as it looks.
 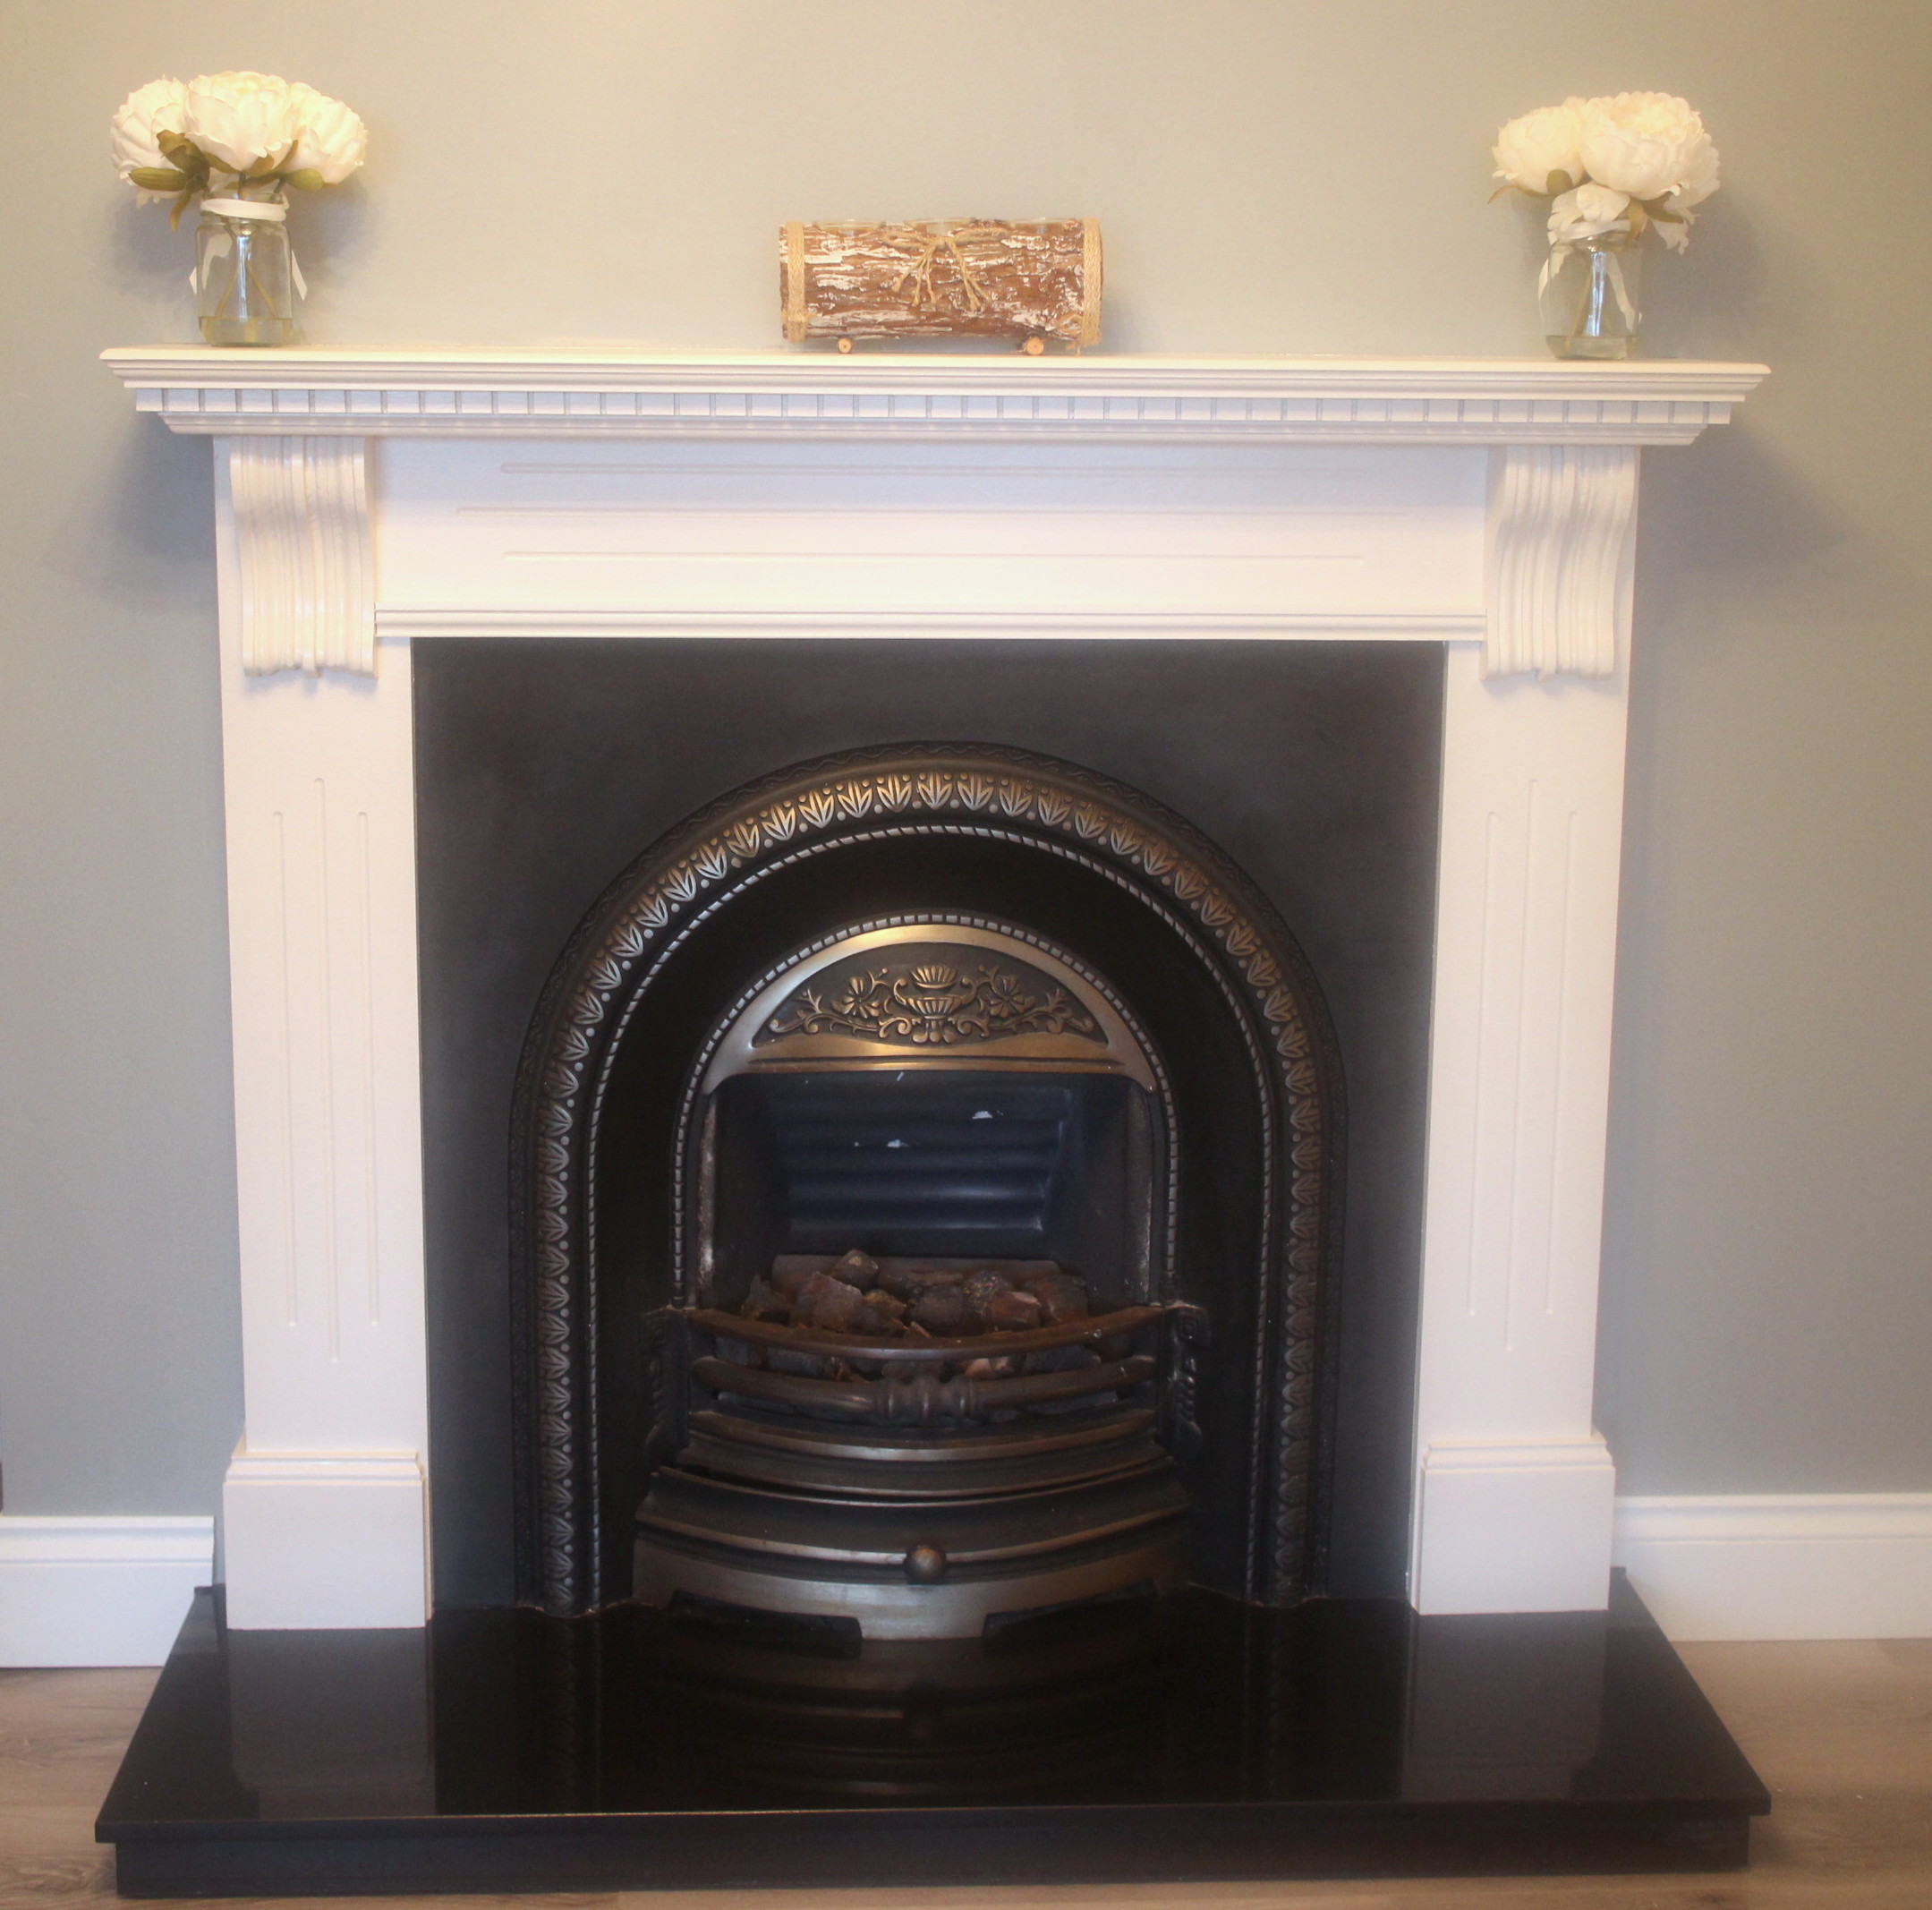 The Paint I applied the paint in exactly the same way. I chose the Fleetwood Advanced range of paint in the Satinwood finish as I wanted the client to be able to wash down the paint and because it is super tough and durable and the best one to use around a heat source. I have added a little more detail about this particular range below. When you read it you will see why I choose to work with this range. The grooves in the woodwork were slow and i have to use a small 20mm craft brush to get into them whilst not using too much paint and causing drips. I did two coats of the paint and the colour chosen by the customer was ‘Parisian Taupe.’
  You can clearly see by this close up photo that the finish was superb and it felt as good as it looked when the customer ran their hand across it. That is due to the prep and the products, but also the superfine sanding pad. Below is a little more detail on the paint itself and the full video.
ABOUT THE ADVANCED PAINT RANGE from FLEETWOOD
The water-based, low VOC and exceptional flow and leveling formula of Advanced has received huge acclaim and accolade within the Irish paint industry. Advanced is a fully washable and virtually odour free paint. No lingering smells and low VOC content means it’s safe for the family and environmentally friendly. Clean up is minimal with soap and water. With a touch dry finish in 30 minutes and a re-coat time in under 2 hours, onsite and in house jobs will be a breeze The Advanced range has a 6 year exterior protection that resisting cracking and flaking and a stay white formula, ensuring white stays white, all year round. Tintable into every colour possible through the Fleetwood tinting system, the scope for colour is boundless. Available in the following finishes: Undercoat: Excellent adhesion and coverage for the topcoat and gives an ultra tough stain blocking finish. Eggshell: Designer low sheen finish and designers choice for kitchen cabinets and furniture up-cycling (low sheen 12%) Satinwood: Stunning Mid-sheen finish that is on trend for all cabinets, up-cycling, skirting and trims. (mid sheen 25%) High gloss: Incredible high gloss finish that is popular for front doors.(high sheen 80%) Why we love it: Ultra tough and long lasting. Scuff and stain resistant. Quick drying (touch dry in 30 mins) 6 year exterior protection that resists cracking and flaking Ideal for: Interior/exterior wood, metal, furniture and PVC. Interior use: furniture up-cycling, skirting, doors and all wood&metal Exterior use: garden fences, sheds, front doors, joinery and metal.
AILEEN x