How To Paint An Internal Window Frame and Sill
How To Paint An Internal Window Frame and Sill
By Aileen of Shabby.ie in association
with


How To Paint An Internal Window Frame and Sill, is part of the new
‘ HOW TO’ video series from Fleetwood Paints and the full instructional video can be seen ….HERE
The Project:
This was a previously painted window frame and sill and the tanins from the teak underneath were bleeding through the paint. I needed to use a primer that would seal in the stain before i could paint.
So for this job i needed the following products. All available from www.fleetwood.ie and stockists nationwide.
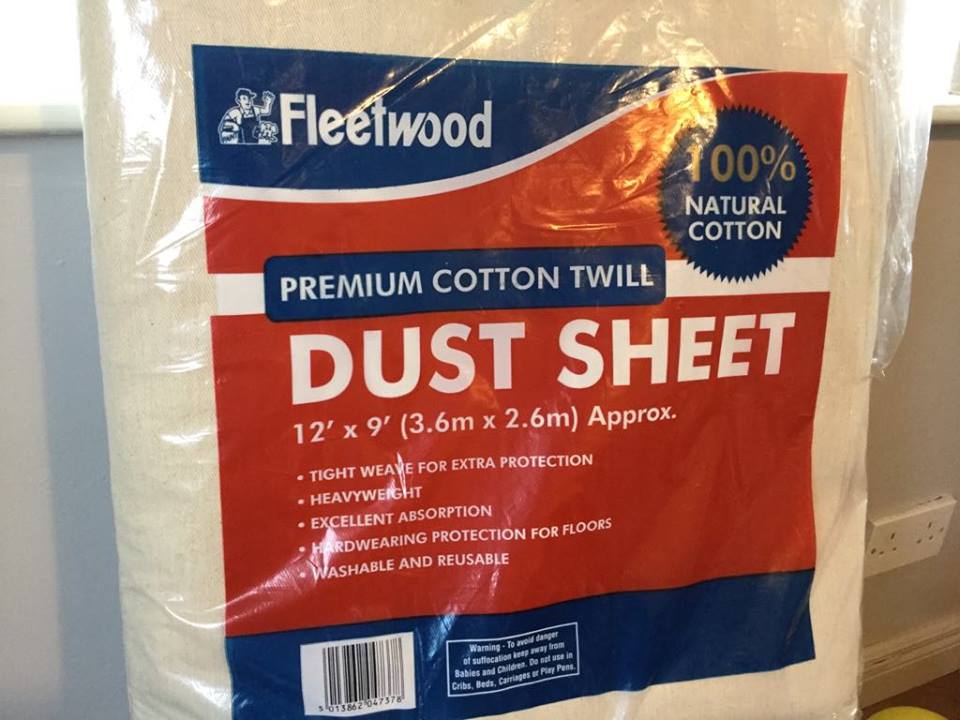
- Dust sheet
- Mini Roller tray and either flock or micofibre sleeve
- 2 inch short grip angled brush
- Medium grade sandpaper and sanding pad for edges and grooves
- Washi Tape . I used both the orange and the low tack green one
- Methylated spirits for cleaning
- Bloxx-IT Primer
- Advanced paint range in satinwood
First things first, I needed to prepare the surface for Painting. As I always say, your prep is your finish. My prep is three easy steps :
Step 1. CLEAN… clean the surface with a 50/50 mix of methylated spirits and water. This is one of the best cleaners you can use and will not leave any residue unlike other cleaners.

Step 2. SCUFF SAND… scratch the surface with a med grade sandpaper and pad to create millions of little scratches for the new paint to stick to. Clean off any dust with a damp cloth

Step 3. PRIME…. For this project I used BLOXX-IT. a premium primer,sealer and stain killer from Fleetwood Paints with exceptional hiding power. This primer also has the ability to stick to all surfaces without priming and produces and blemish free finish.

I covered the floor and radiator with my big dust sheet and taped off the windows and wall. This made the painting so much quicker and more accurate, so no cleaning or scraping paint off the glass afterwards. . Well worth doing.
I also used washi tape from fleetwood to cover protect the walls and the windows so i had no clean up their either and very straight lines..photo below.
And I filled in some holes with the BEST filler i have ever used.. it does not need sanding afterwards ! A must in your upcycling kit.
If you watch the video you will see my TOP TIP of covering the tray in tin foil so you dont even have to clean it afterward… hey, lets make things as easy as we can.
In the video HERE you will see me apply this with the roller and the short grip angles brush to apply the primer and you will see how easily it went on the surface. I gave it two full coats as i wanted it sealed well. It is touch dry in 40 mins and you can recoat in 2 hours. This primer is incredible and sticks to all surfaces without sanding (even PVC, ceramic and varnish) I will be using this on many more projects in the future.
After my prep was done, I was ready for my new paint. I chose the Advanced Paint Range from Fleetwood available in stores nationwide. This range comes in three sheens…
- Eggshell… which has a low sheen ( approx 12%)
- Satinwood… which has a mid sheen ( approx 25%)
- High Gloss….. High Sheen ( approx 80%)
Did you know this paint is tintable into every colour possible through the Fleetwood tinting system? This makes the scope for colour boundless. You can check out the Fleetwood Ranges and stockists on www.fleetwood.ie
I chose The advanced range in a colour called Designer White for this job and i chose the satinwood finish. Why Satinwood ?

- Its water based with exceptional self leveling properties.
- Fully washable ( really important on windowsills i think ) and virtually odour free, the Advanced range is a family and environmentally friendly paint product, with ZERO VOC content.
- It has a stay white formula that ensures it stays white all year round.
- Clean up is minimal with a touch dry finish in half an hour and recoat in less than 2 hours, making all jobs a breeze ( My kind of clean up)
The advance range is available in an undercoat, eggshell, satinwood and gloss. For those of you that are unsure of the differences in these, have a look here…..
- Eggshell: designers choice for kitchen cabinets and furniture upcycling (low sheen 12%)
- Satinwood: washable and tough for internal/external doors and skirting (mid sheen 25%)
- High gloss: high gloss finish for the perfect grand entrance (high sheen 80%)
Its good to know a little about the paint you choose, so here are the advantages of the advanced range.
Ultra tough finish
No yellowing white stays white
Scuff and stain resistant
6 year exterior protection
resists cracking and flaking
excellent adhesion and coverage
no chipping and scratches
super hard durable finish
I applied the paint exactly as i did the primer. I only needed one coat and a little touch up on a couple of areas. The smooth, mirror like finish, was stunning. If you get any dust particles settling in your paint you can give it a little rub with a superfine sanding pad and that will smooth it out again.
And that was it . I was done…What a difference in one afternoon !
Have a look at the photos below of some of the products i used and the finish project.
Aileen


-

Stunning Finish -
And hard wearing too

