Storage Trunk Extreme Makeover
Storage Trunk Extreme Makeover
By Aileen Of Shabby.ie
This trunk looks so different from how it started out and that was EXACTLY what I wanted. You see, this box is the first piece I am restyling for my new home , which we will be in this early this year ( 2020) . The excitement is at an all time high with the planning permission now granted and sale only weeks away !! You will be seeing lots of projects in the coming months as I do a full makeover on EVERY room in this new house.
This is an old small cottage we are buying and every piece of furniture going into it, has to be functional !! That is the number one priority . After that, I can use my imagination to help these pieces become part of our home. The second thing I have to keep in mind, is budget. Every penny is going into the house and the extension and renovations ,so I am conscious of not spending money and utilising what we have. So when I was given this old blanket box for free I thought ‘ Hey i have storage and a coffee table in this piece’ ! win win..However it was not coming anywhere near my house looking like this !
 There is enough orange pine in there already !!
It was decided that this piece was to go into the DEN room ,which will normally be occupied by the boys watching matches or playing on the PS4, so my instructions from said boys were, ‘ NOTHING GIRLIE’ lol lol
My son has a wall sign saying Man Cave and I decided to pick out the colours in the sign. A dark Navy and a Turquoise. But it needed more that just painting to give it a male look and of course I had to slip in a little femininity , after all its my house too !

So step one I took the whole box apart. Yep it is only flat pack and wasnt put together too well so that was easy enough. It gave me the opportunity to attach some new queen anne feet which are a bit more elegant that the ones on it. I got these from Lenehans of Capel Street in Dublin. LINK HERE>
Adding the feet was much easier to a flat piece of wood ( the bottom) . It would have been harder if the whole box was still together.
Then I started preparing the wood for painting. I cleaned with 50/50 methylated spirits and water in an old shower cleaner bottle and scuff sanded ( scratch up the whole area with medium grade sand paper) and then rolled on a water based primer to dull down the surface and create the perfect base for painting. I used these rollers. If you are new to upcycling I have a FREE online course that you can look at . This explains all you need to know when starting off. Here is the link to the FREE COURSE
If you are new to painting I suggest to have a look at the Beginners Upcycling Starter kit HERE.. this has everything you need to prepare your wood for painting.

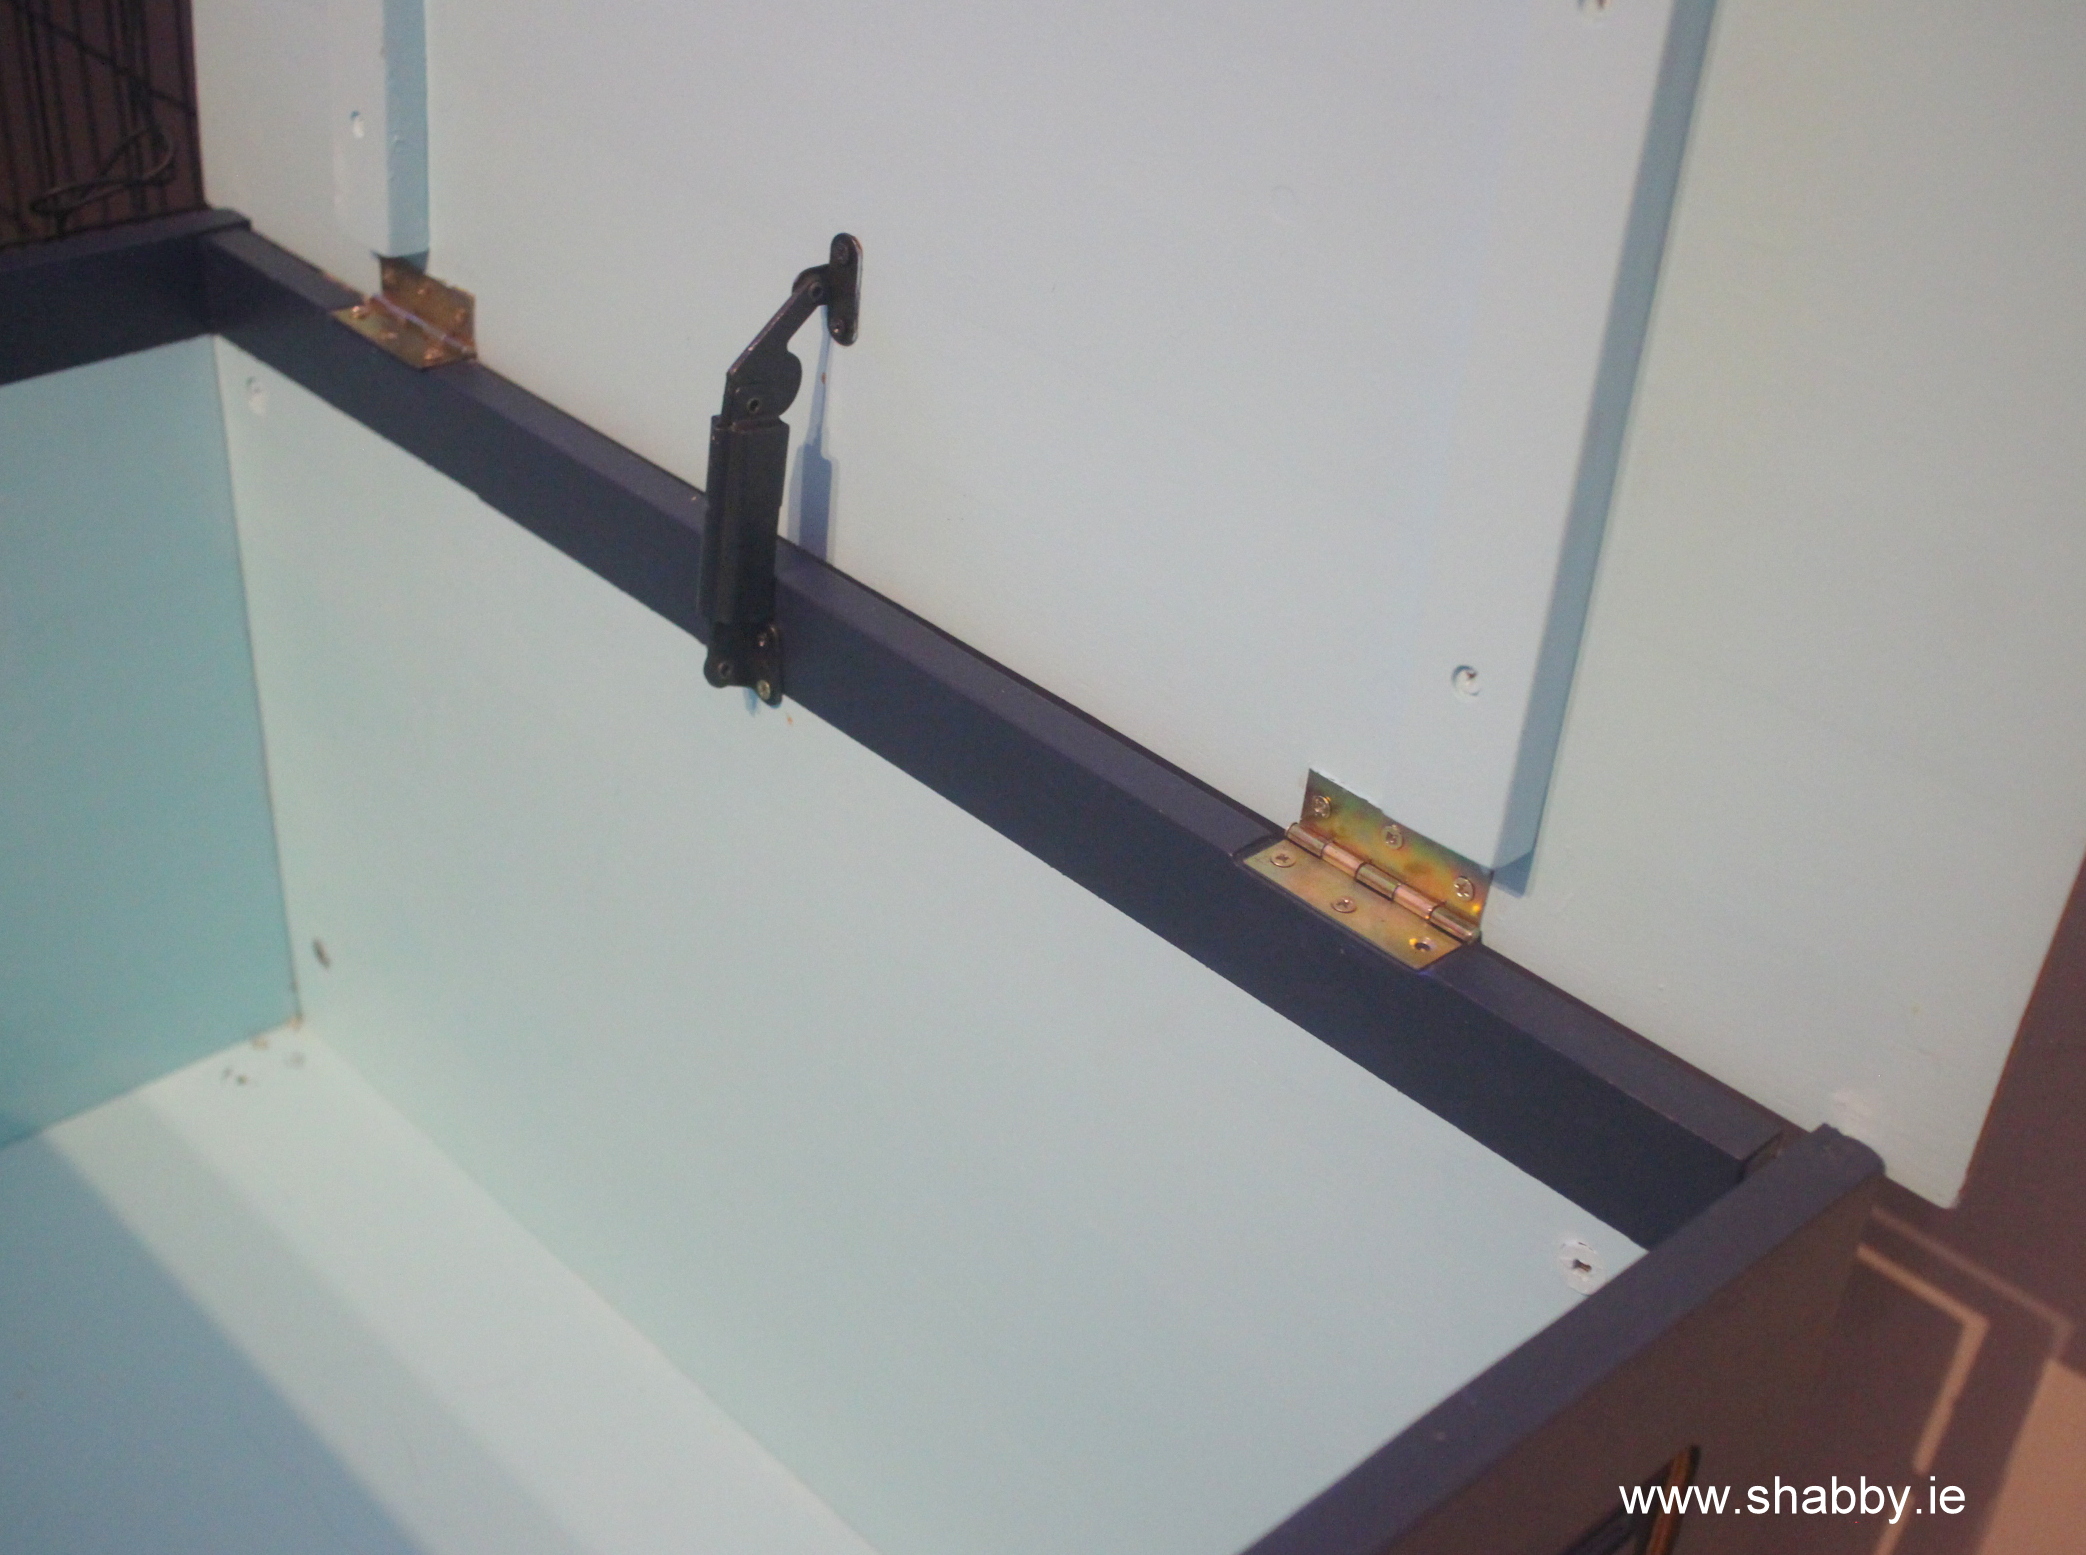
I started painting the insides of each piece in Shabby Teal for a pop of colour when the box is opened. I painted the outside in Shabby Midnight. Both these colours are sold in 3 sizes so you never had to buy more that you need. Check them out HERE>
The Top , the front panel , the bottom lip and the legs were all going to be stained so I didnt paint them. Instead I sanded them back to raw wood . I hated the orange pine and wanted a darker colour so I mixed two of the old water based stains I had . One was too light and one was too dark. So I simply mixed the two and rubbed it on with an old sock. And used another old sock to take off the excess.
 The wood was stunning in this new richer darker colour. I finished all the wooden areas off with Ronseal Varnish in SATIN. I like a shine on wood stain ( not paint) so I always choose a satin or gloss varnish, unless its for a kitchen or staircase ( shiny stairs are slippery ! )
To the sides I added some fabulous leather handles that i got in Ikea. They are all in for kitchens at the moment and really added a great touch to the storage chest and make it much easier to move !! I had intended cutting up an old belt and making my own, but these are ideal to show you guys that might never attempt your own.
When the box was all painted and put together I thought it needed a little something extra. So i decided to add a big furniture applique to the front. This one is part of the efex range we keep on the website. They are bendable and really flat and look incredibly like real carvings when used. See range here….
![]()
To create this aged metal look I did the following. I painted it in the navy ( Shabby Midnight) , then dry brushed a little teal ( Shabby Teal) over that. Then I got out three colours in the rub n buff coloured waxes and just rubbed them on to appliques here and there with just my finger. I did the same with the resin leaf mouldings to make them look like corner brackets. Here is a link to the RUB N BUFF
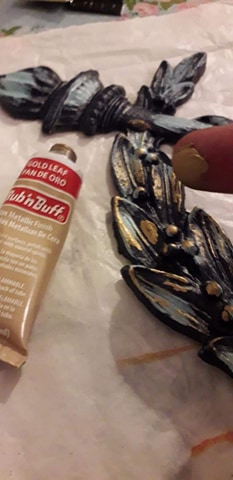
The resin mouldings are even easier to use and stick on with wood glue or no more nails ( my favourite) . They come in a light cream/white and look totally different when painted, dry brushed , waxed, stained, aged with coloured waxes etc. See our full range of furniture mouldings here
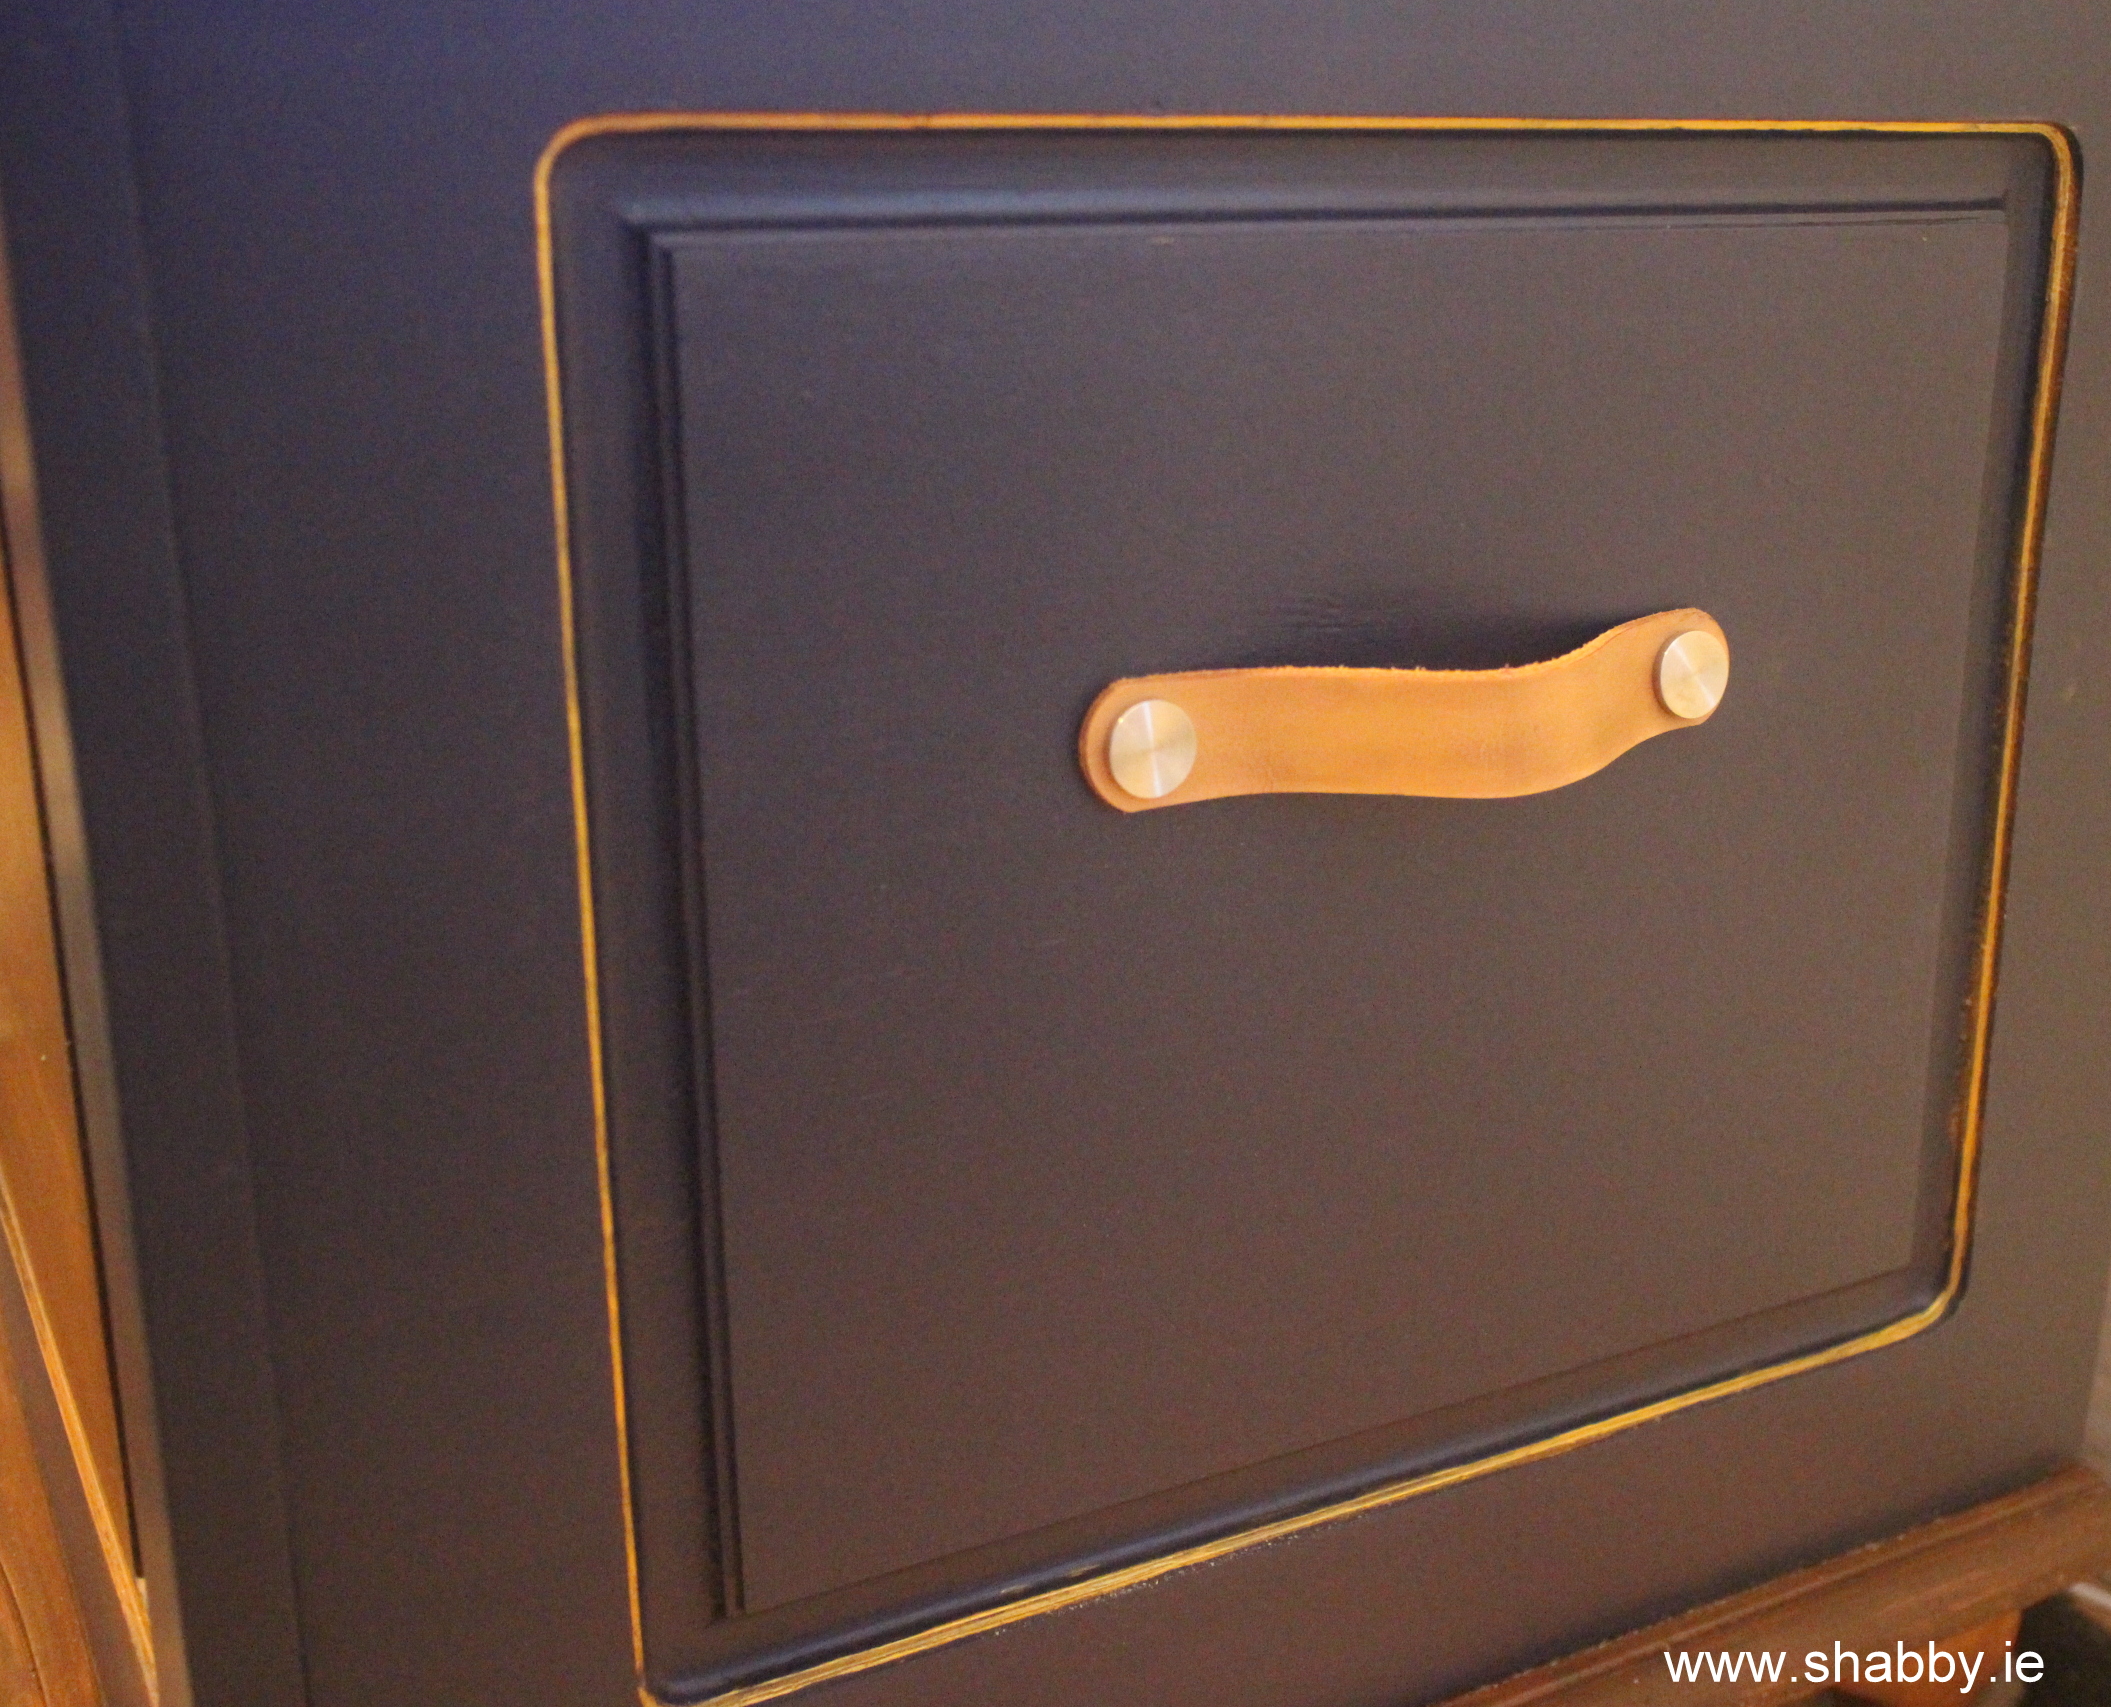
 All in all , I am delighted with the restyle. The last thing I did was add a gold metallic paint to the inner edges of the panel( with a tiny flat brush ) just to tie in with the mouldings and add that little bit of ‘mummy glamour’ hahaha. The boys don’t notice detail like this. They just see navy and cool appliques and nothing GIRLIE , so they are happy.
![]()
I was actually given two of these boxes . Check out the first one I did a couple of months ago… again its completely different to this ! You can see that one HERE.. see which one you prefer !
Thank you for reading. Follow me now for daily updates on INSTAGRAM and FACEBOOK
Aileen