How To Paint A Baby’s Cot
How To Paint A Baby’s Cot

How To Paint A Baby’s Cot . To celebrate the launch of the new KIDS COLLECTION from Fleetwood Paints this month, we decided to answer one of the most frequently asked questions, in both a video tutorial and blog post. Can you paint a baby’s cot ? ………..You will see links to the products that can be purchased on this website, as you go along. So here we go.
If you prefer, you can skip straight to the video by clicking here
Yes, you can paint a cot, or indeed any children’s furniture and/or toys, but you really should be using a paint that has the EU TOY SAFETY certification. The paint I use in the video ,has been given this certification, as have all the paints in the Advanced Range from Fleetwood including the Shabby Paint Collection
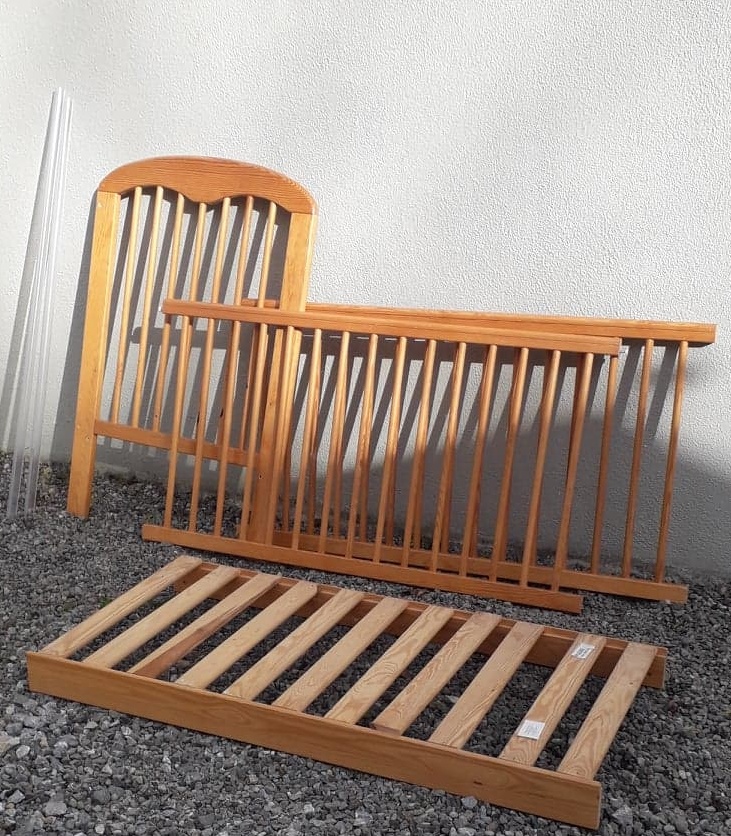
THE COT

Step One
Thoroughly clean the woodwork using a 50/50 mix of methylated spirits and water in an old shower spray bottle. Spray the mix straight onto the wood and wipe clean with a dry cloth. This mix does not wet the wood more than necessary and does not need rinsing. I took the cot apart , as i found it easier to prepare and paint in separate pieces .
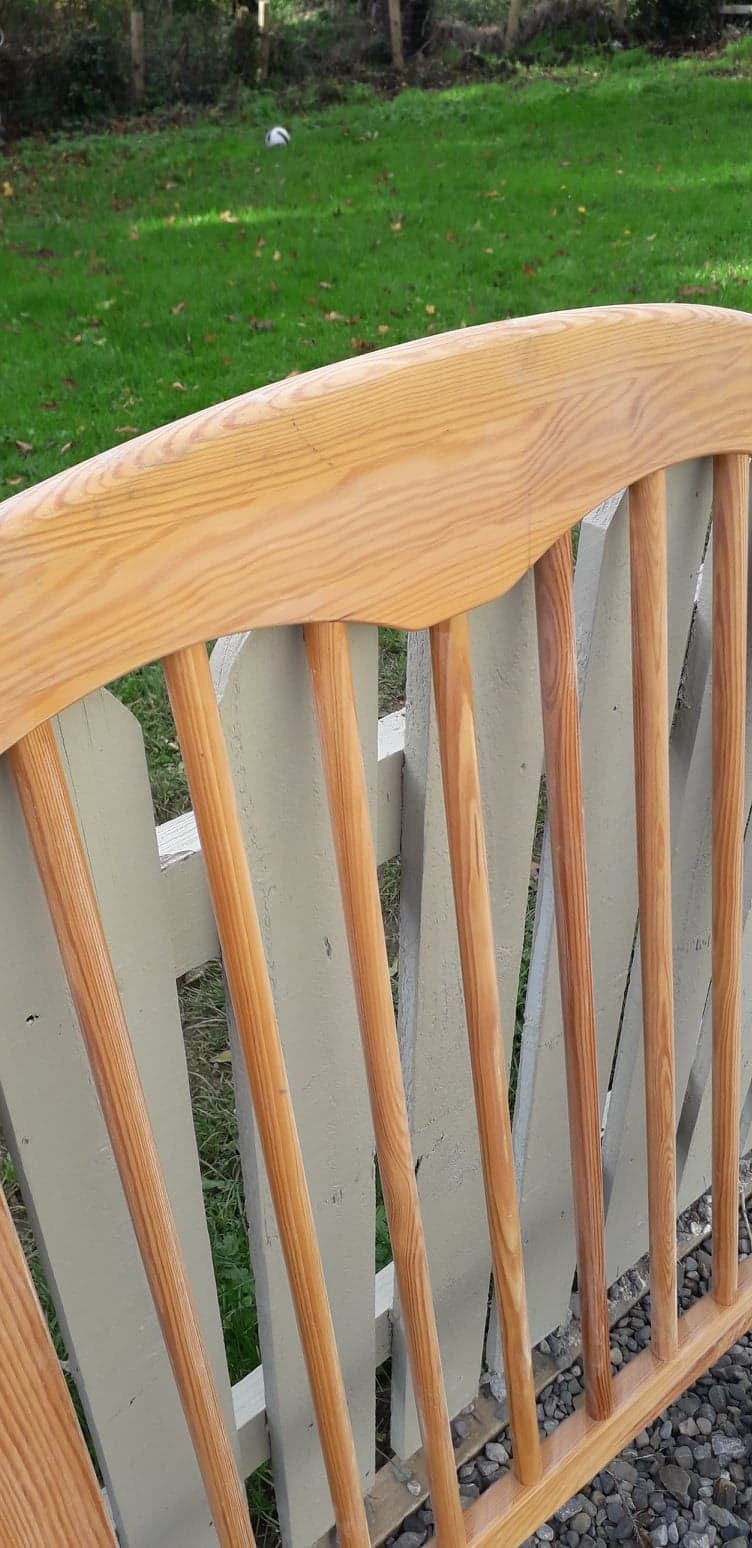
Step Two
Give all the wood a scuff sand. That is scratching up the surface which is highly varnished. This will give your primer something to sink into. You will see how I sand on the video below
Step Three
Now that the wood is cleaned and sanded its time to PRIME
Before we talk about primer I want to explain WHY you prime. This wood has a shop finish on it. Highly varnished/lacquered and this finish repels water. Remember paints are water based !
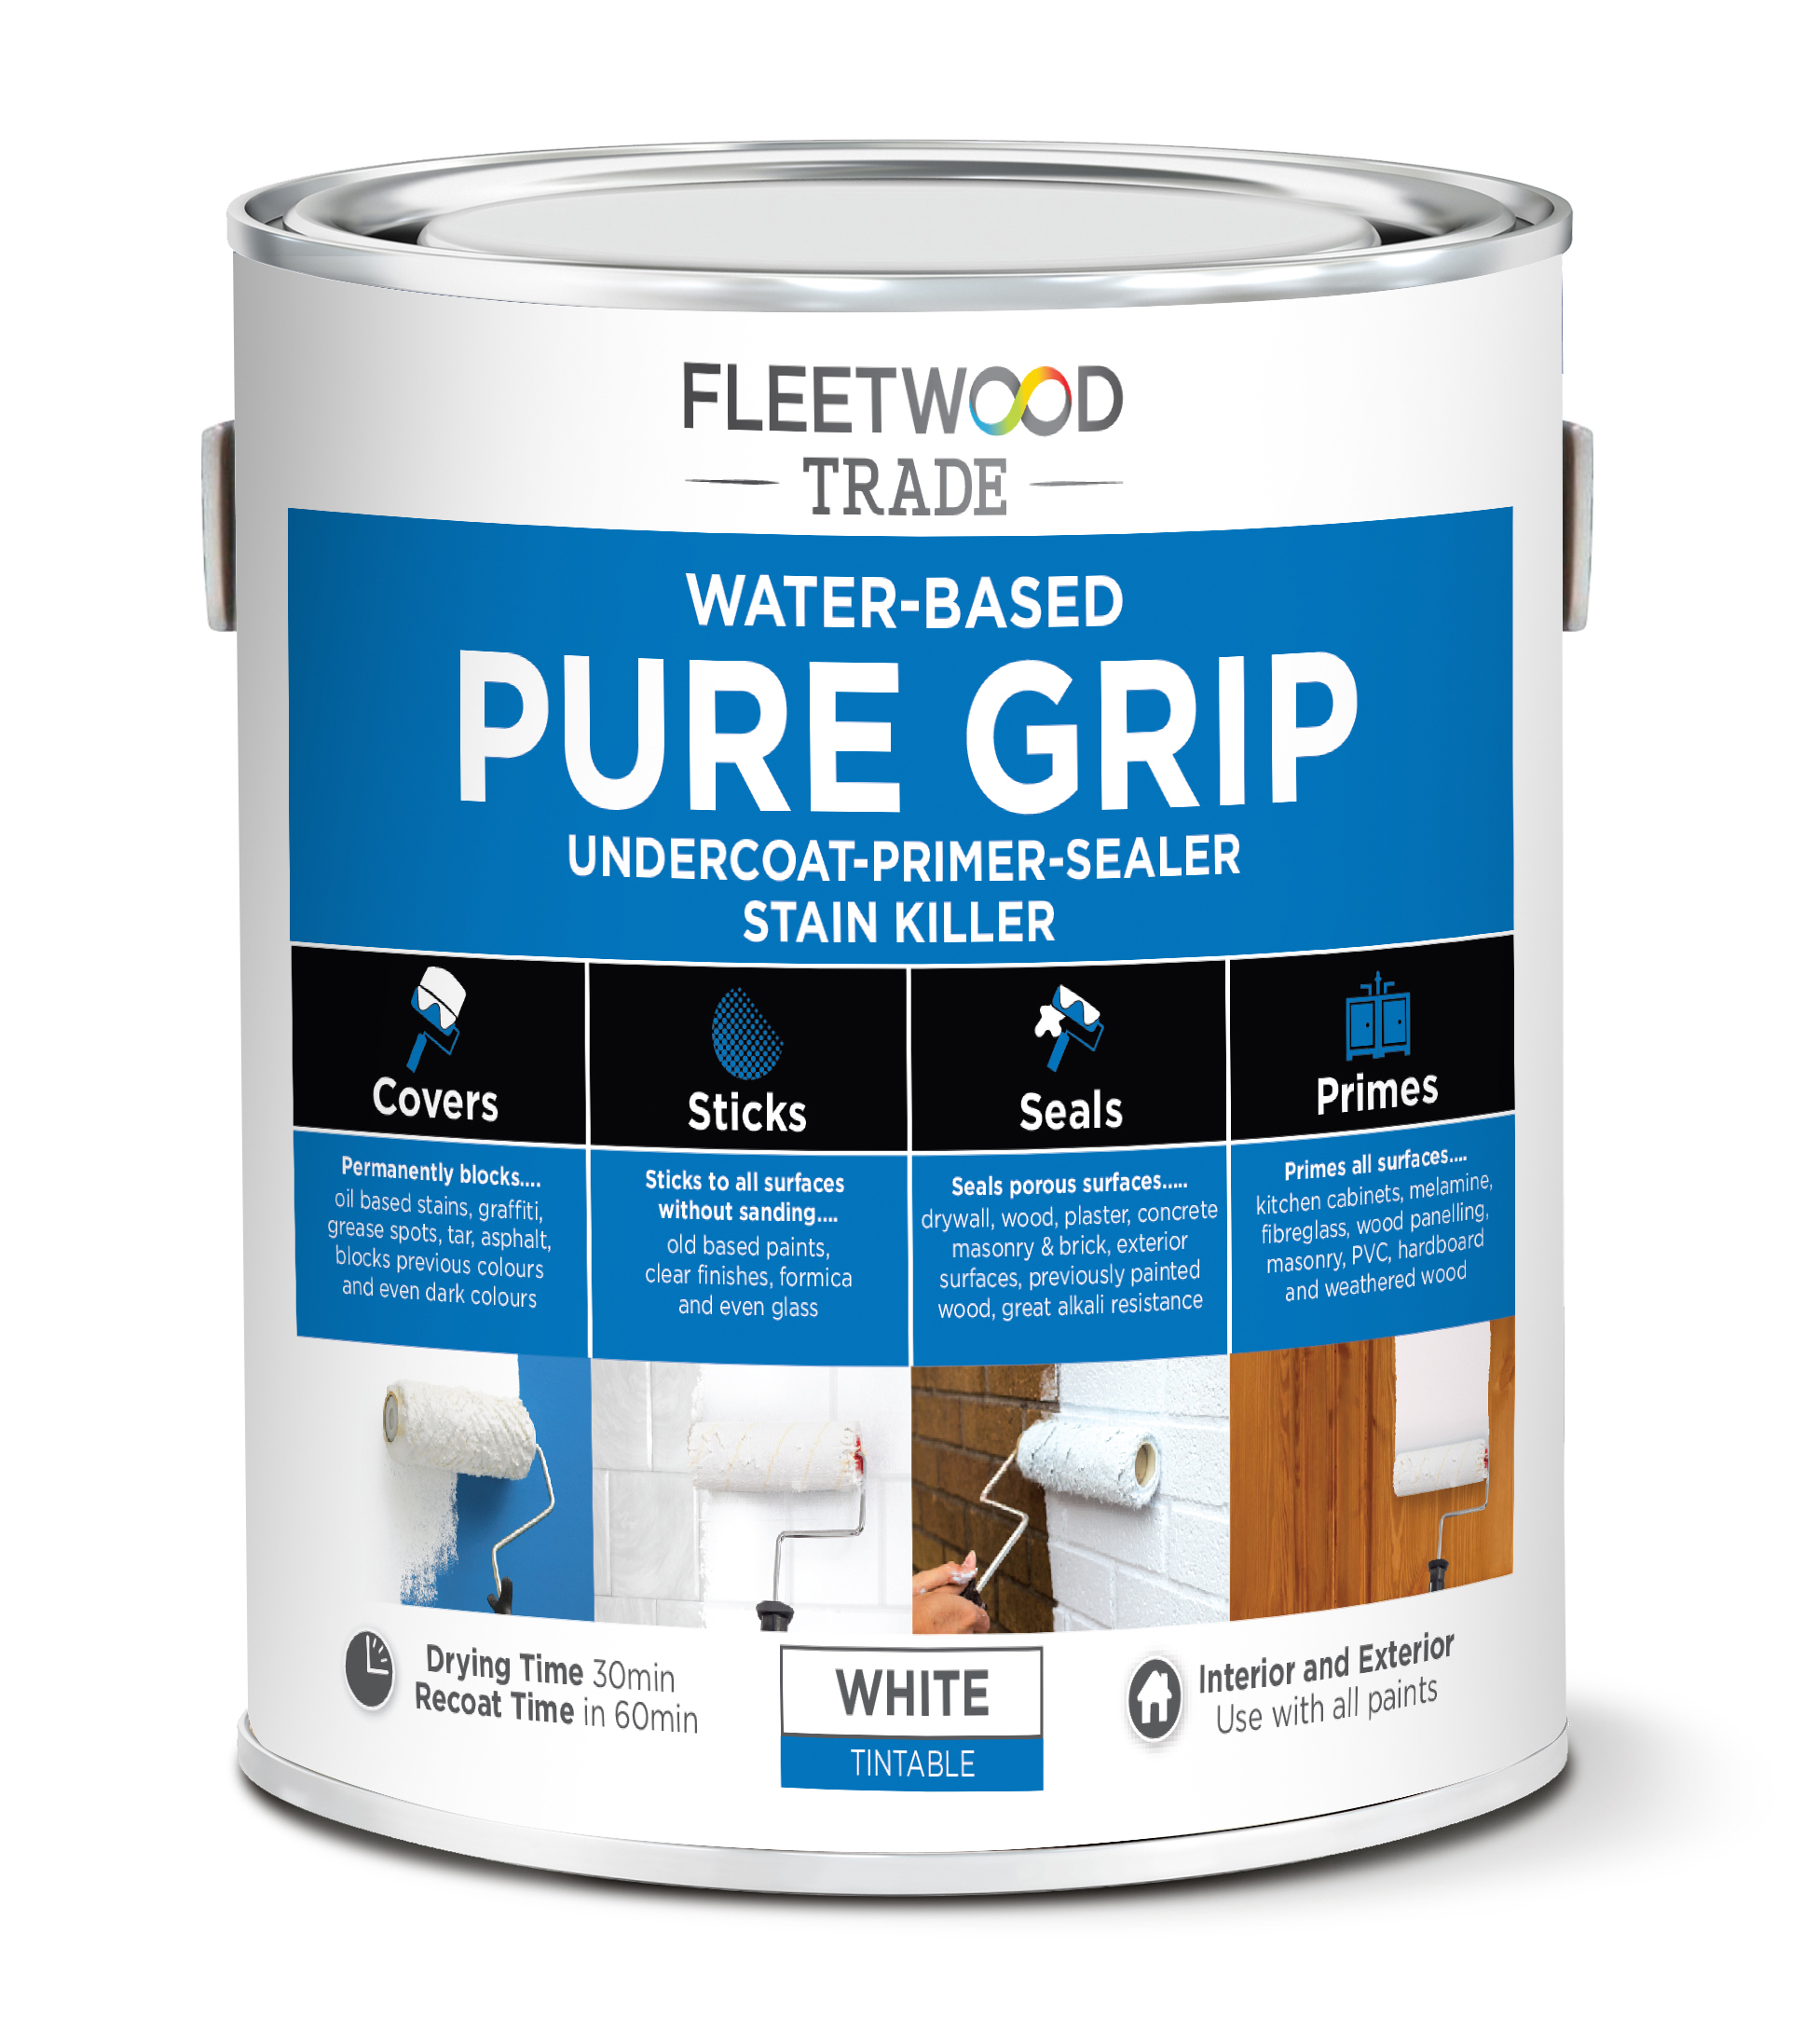
So using a primer which has high adhesive qualities, means you have something that will STICK to this surface. The primer will also dull down the varnish, making it ready for your paint.
The primer I used on this cot is water based, so is easy to use and dries quickly. Its called PURE GRIP and is available nationwide.
 I rolled on one full coat of this primer using the microfibre 4inch rollers. I find these rollers give you a smooth flawless finish.
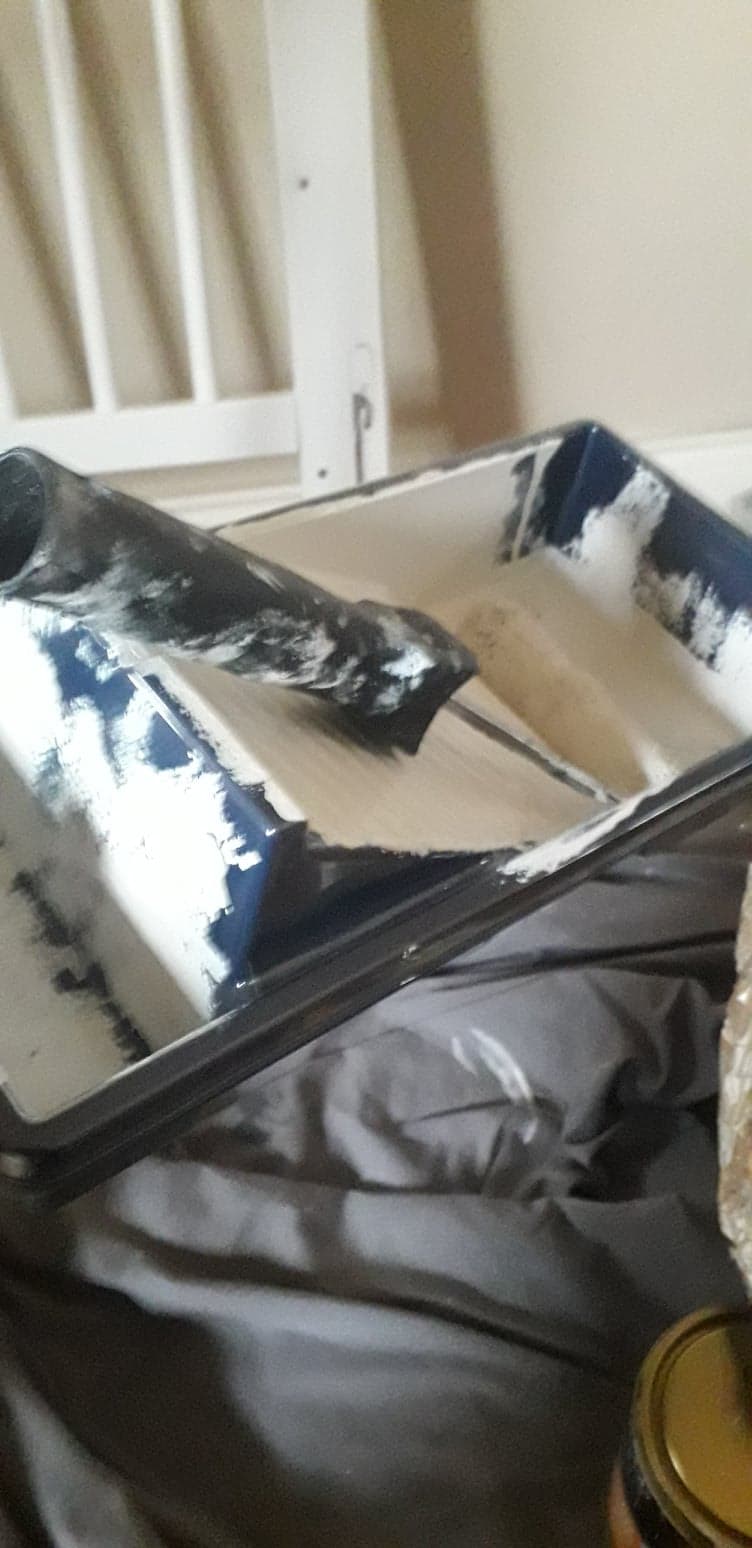
And I want you to see the new roller tray ROLL RITE that was only launched in the last few months. This new shaped tray is very helpful for not getting too much paint on the roller and you can buy packs of plastic LINERS !! woohoo.. seriously love this. I cannot tell you how much easier this makes your clean up ! Check your local stockist for availability.
Step Four
The last step is to PAINT. I used the Advanced Satinwood in Zurich White. You can get this paint mixed into SOOOOO many colours. I chose a colour from the new Kids Collection Brochure which is available now in your local Fleetwood Stockist.

I gave the cot 2 coats of this paint. Mostly rolled on, but I also used a small cut in brush for the areas the roller couldn’t get to.
In the video I show you a tip on how to enhance carvings that might be on the your furniture.
Thank you for reading and I hope you enjoy the video. Please tag Shabby.ie and Fleetwood Paints in any photos you put on social media, so we can see them.
Watch out for our next video which will take this cot and turn it into a CRAFT TABLE that your children can use for years !
Aileen